Introduction
This guide is meant to explain the operation of the QVD client, so that the users of the virtual desktops can connect to their workspaces.
The QVD client is available for 3 different operating systems, Linux (Ubuntu 16.04, Ubuntu 14.04 and SLES12), MacOS and Windows (from version 7 and above).
The operation of the client is the same in all versions, except for the Linux client that offers some extended functionality.
The installation of the client is covered in the following quick installation guides
Client execution
To execute the QVD client in the different operating systems, the following steps must be followed.
1. Windows
|
|
The process described has been done using Windows 10. In other versions you will have to find the application of the QVD client in the appropriate way in each case. |
|
|
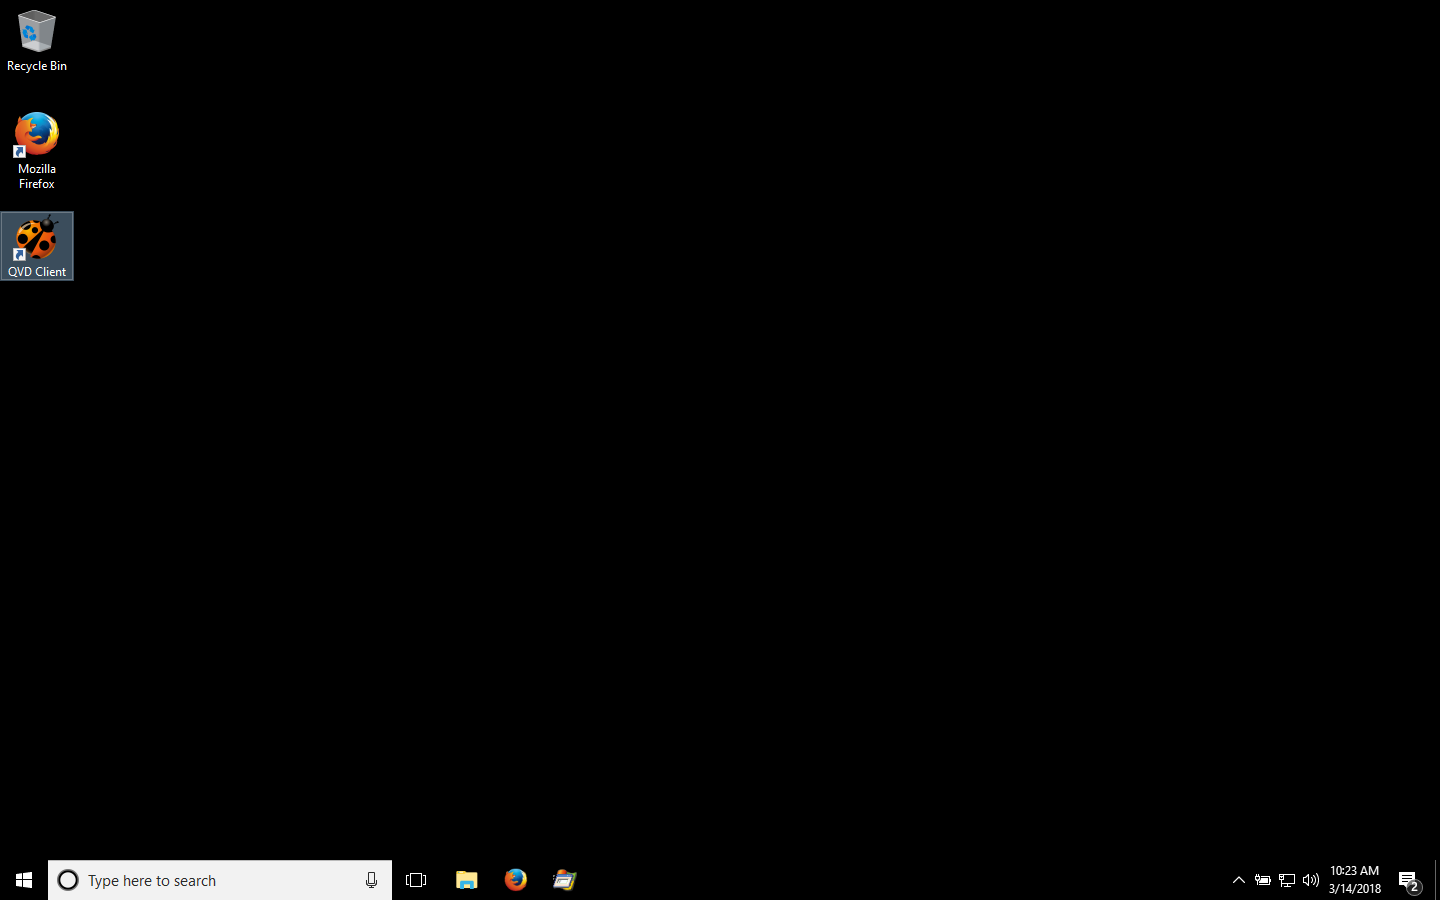
During the installation of the Windows QVD client, the option of creating a shortcut on the desktop is given. |
-
We locate the QVD client
-
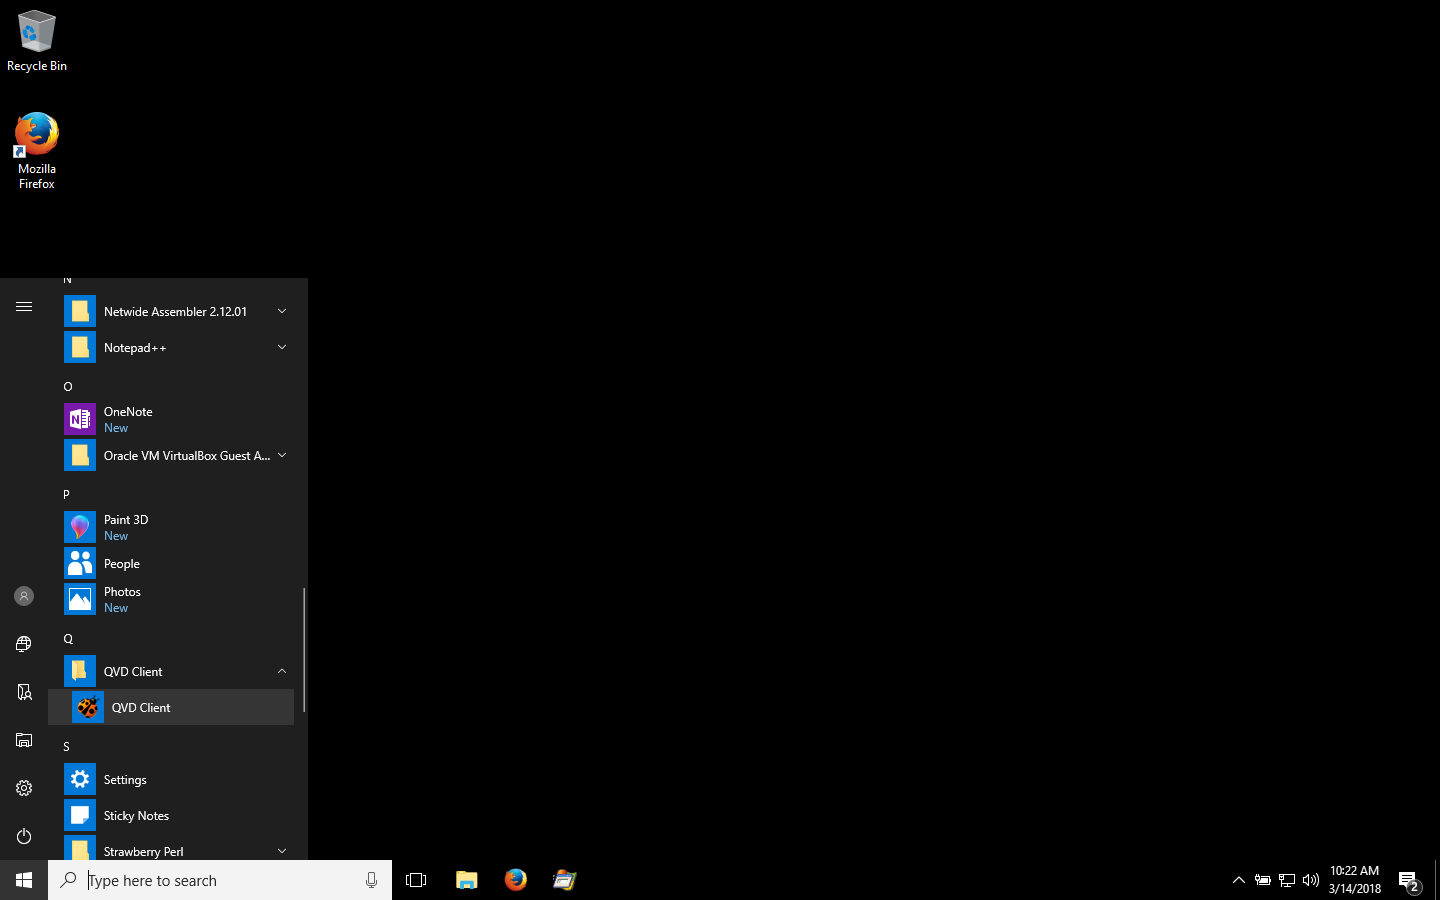
If we did not have direct access to the QVD client, we can find it in the applications menu by clicking on the Windows start button.
-
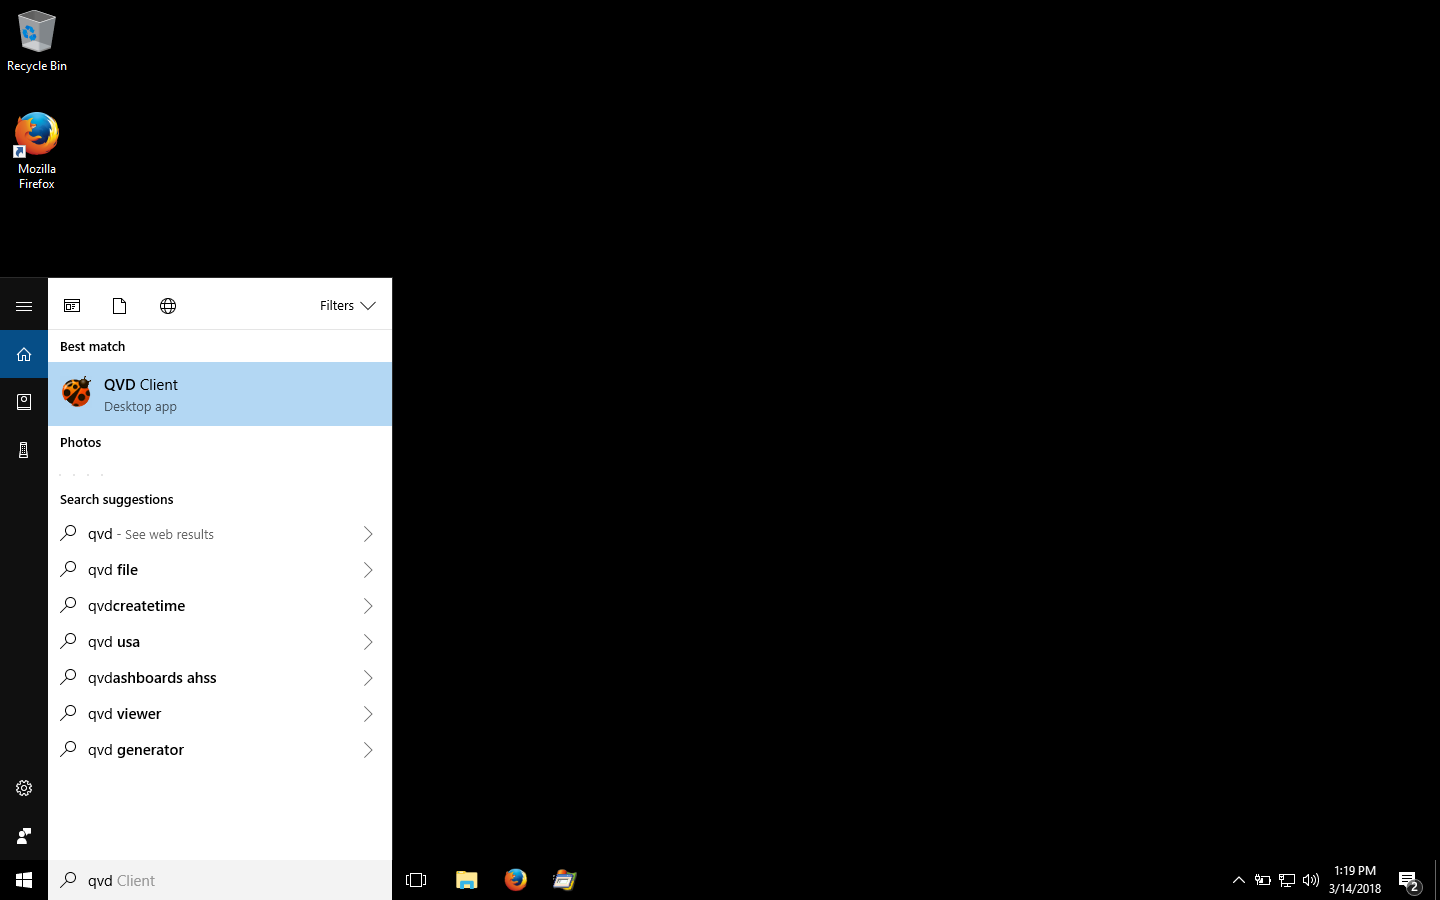
In the same way we can use the search engine in the task bar that appears when you click on the Windows start button.
-
If we had direct access to the QVD client, it would be enough to click on it on the desktop.
-
-
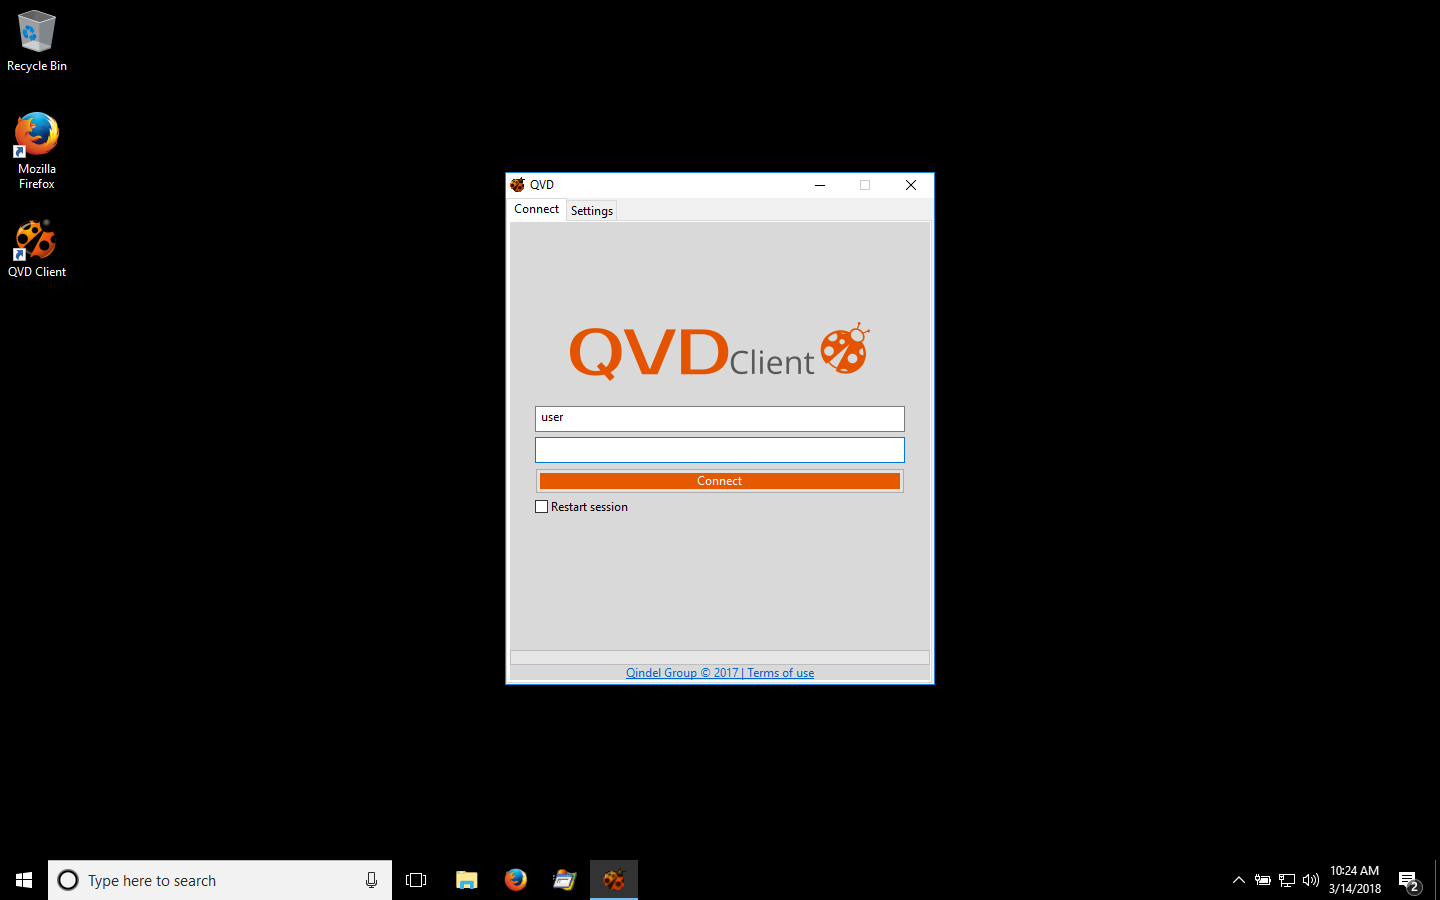
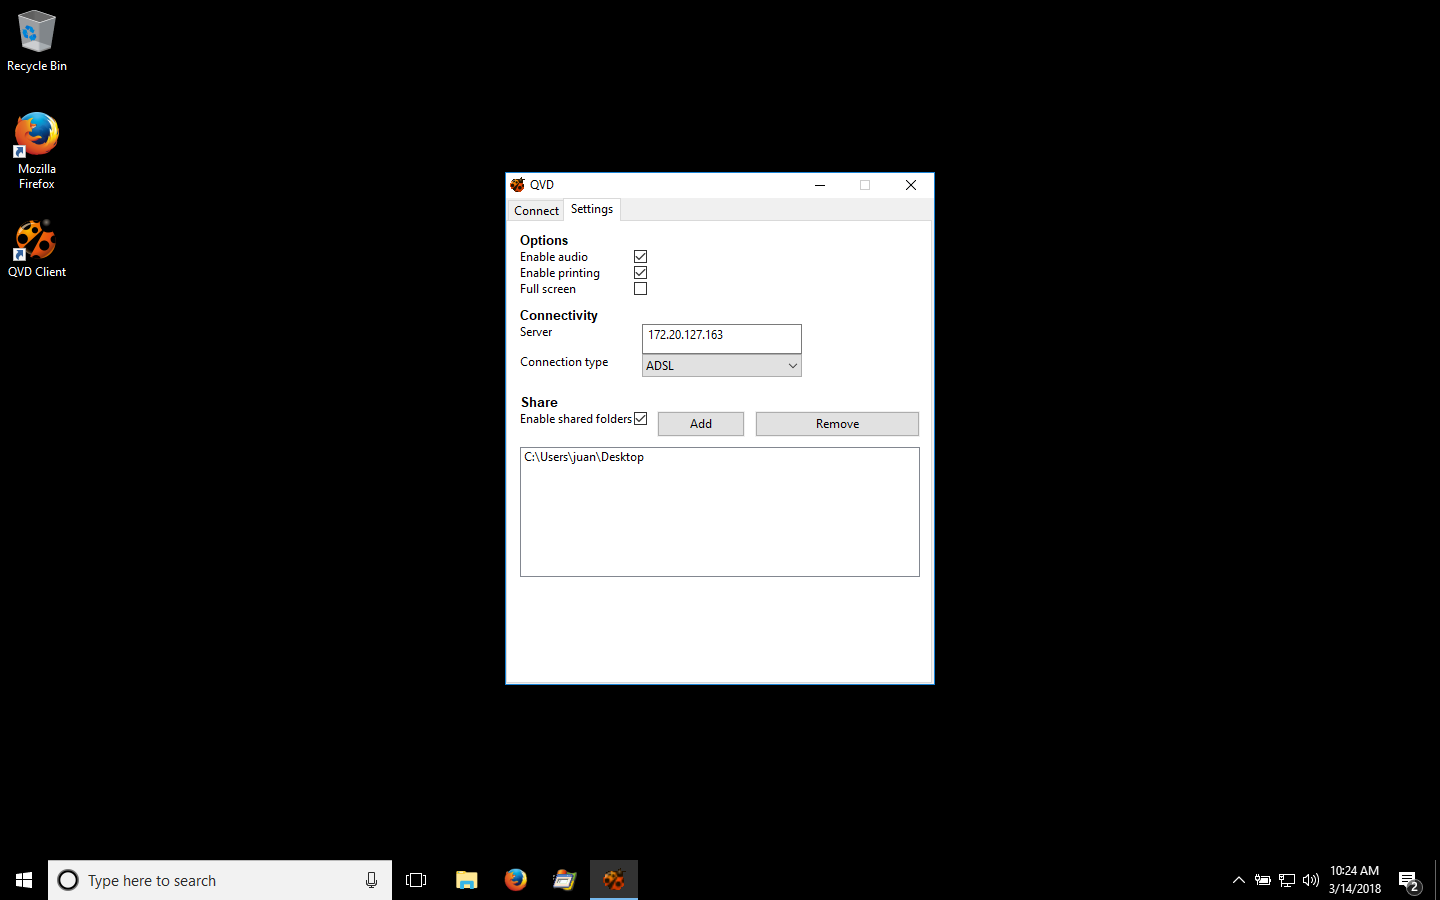
In any case, when you click on the icon, the QVD client will appear. The options are divided into two tabs:
-
The connection tab with the session fields
-
The settings tab with the configuration options
-
2. Linux
|
|
The process described has been done using Ubuntu Unity. In another distribution or desktop environment it will be necessary to find the application of the QVD client in the appropriate manner in each case. |
-
We click with the right button on the Unity icon in the applications menu and click on applications
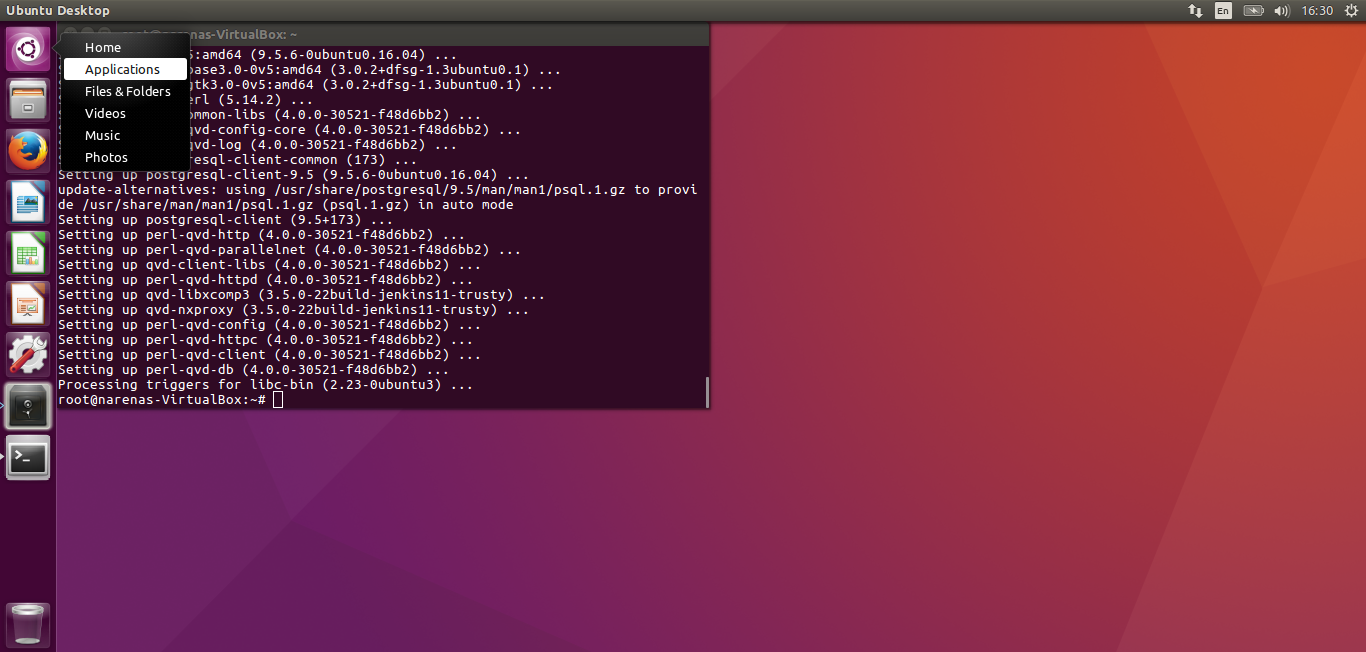
-
In the application search bar we write QVD, this will show the application icon.

-
We click on the icon which will make the QVD client appear. The options are divided into two tabs:
-
The connection tab with the session fields
-
The settings tab with the configuration options


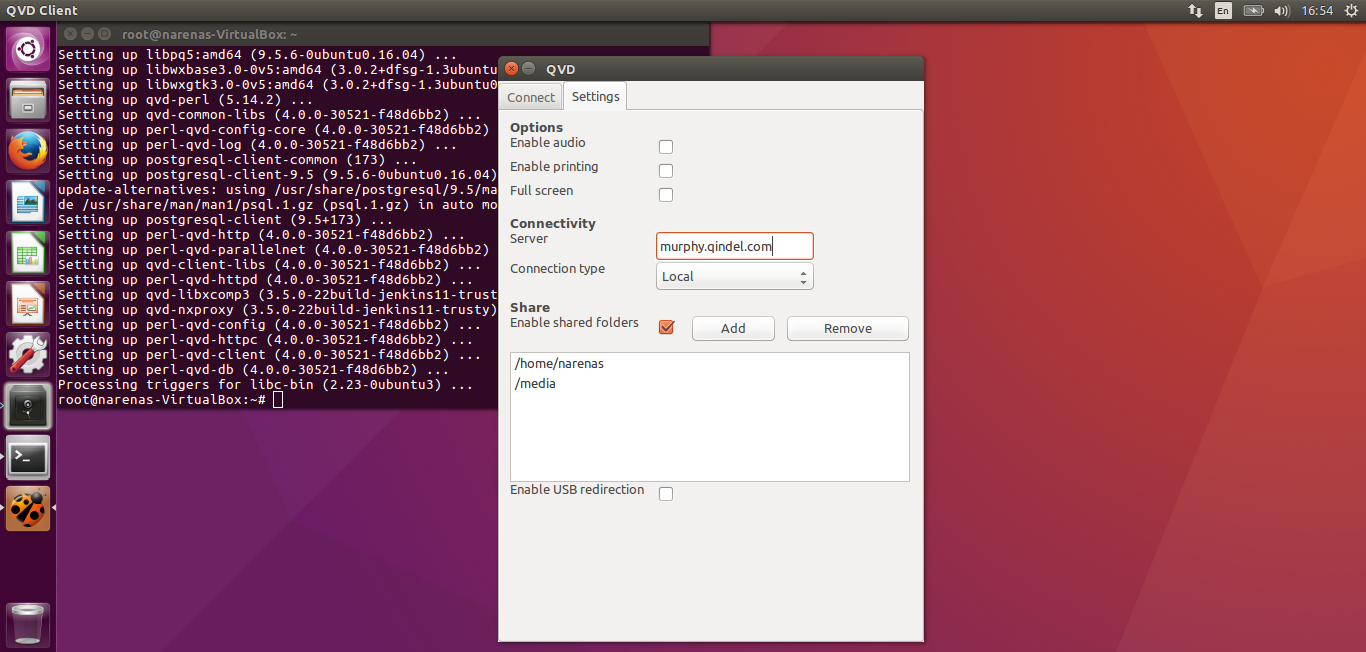
Unlike the other clients, the USB redirection option is available in the Linux client.
-
3. Mac OS
To execute the QVD client in Mac OS, the following steps must be followed.
-
Enter the Launchpad to access the list of installed applications where you will find the QVD Client.
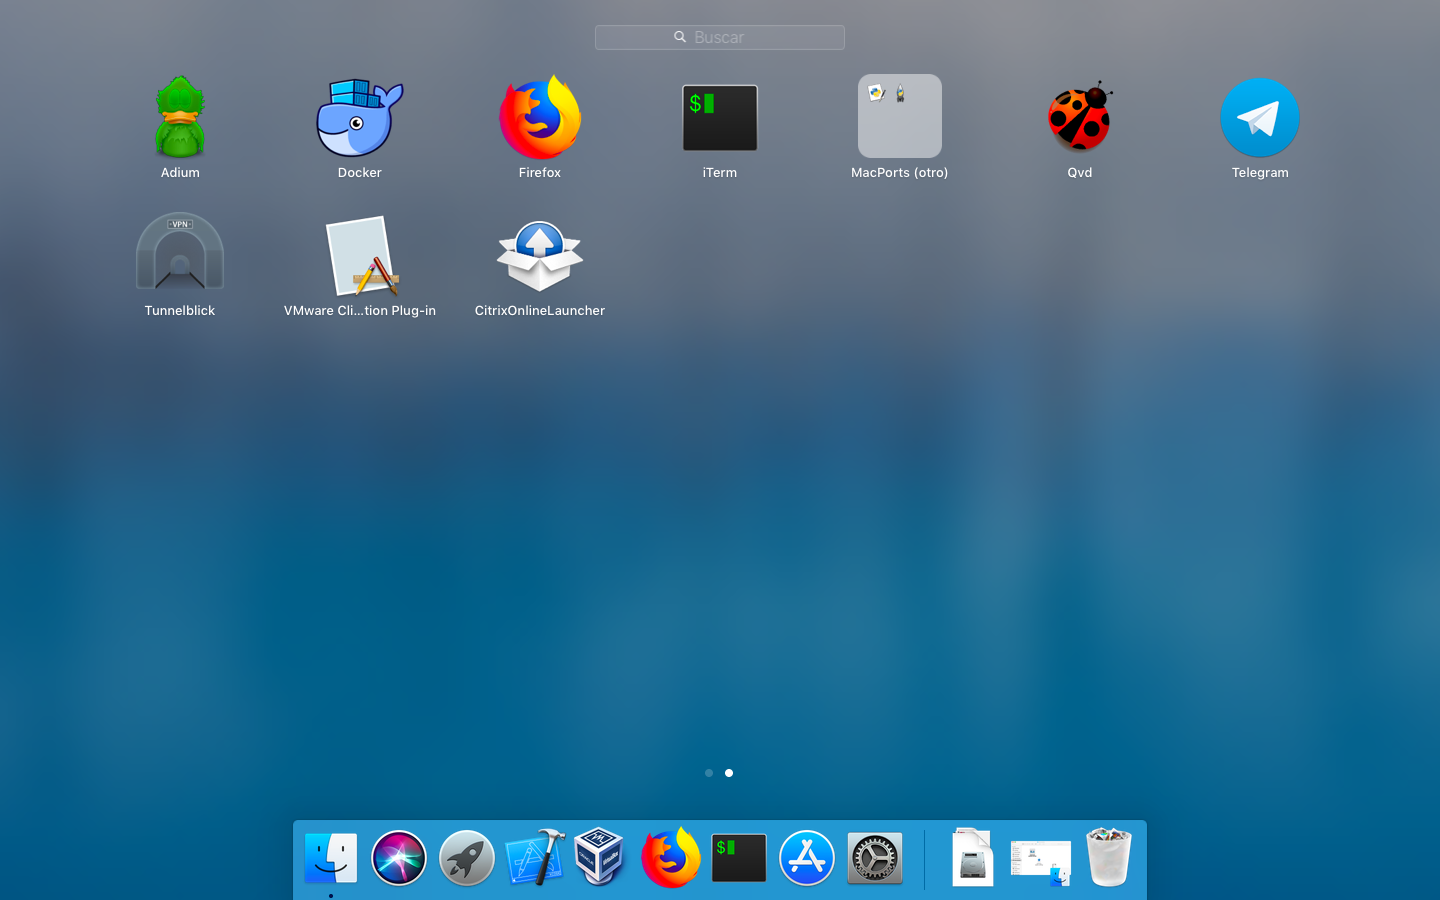
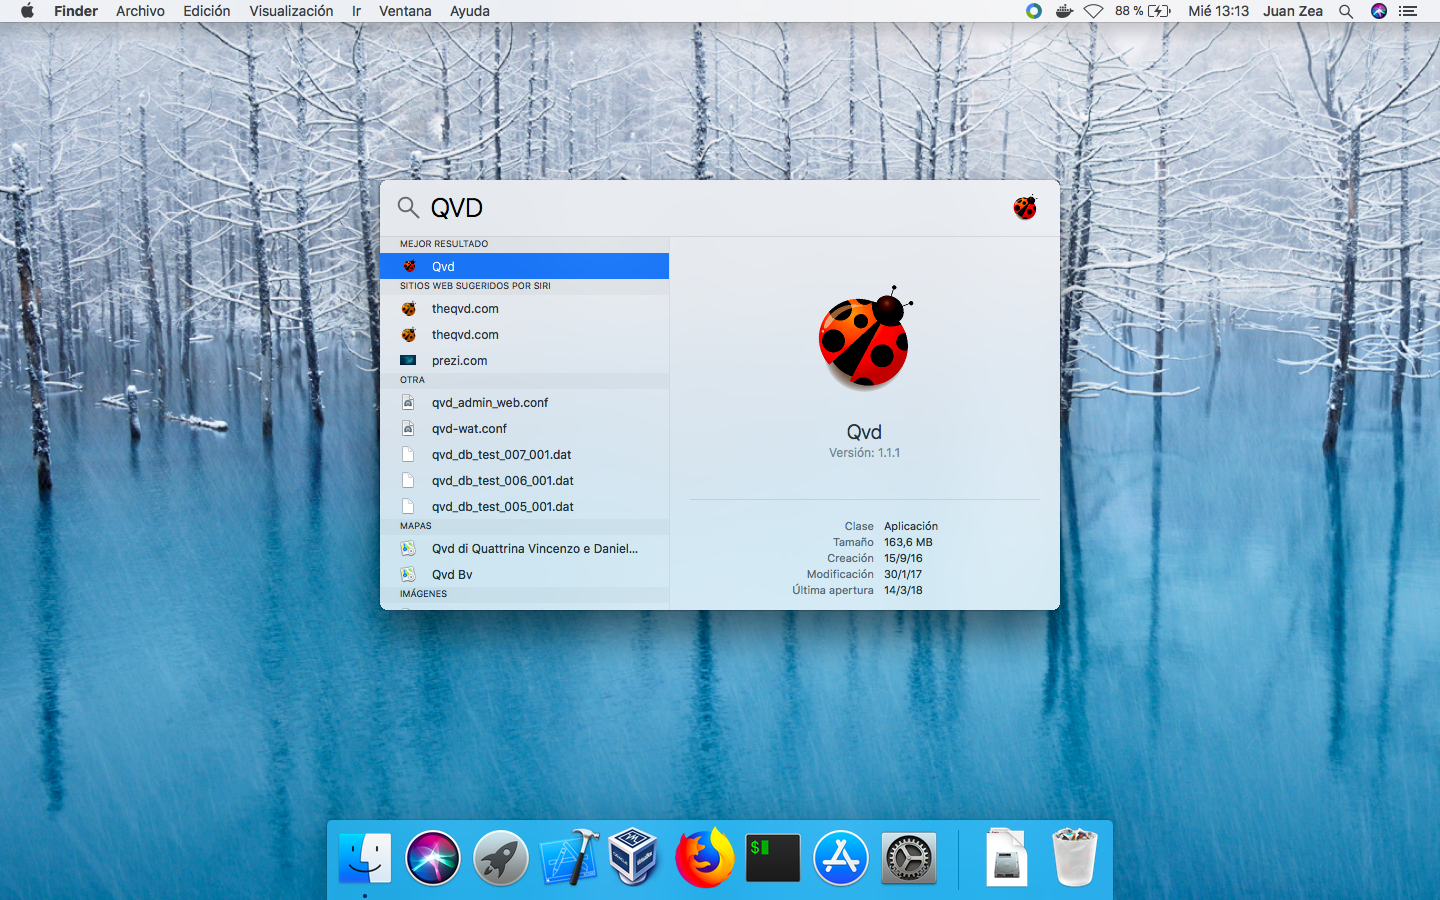
In the same way we can use the search engine or spotlight.
-
In any case, upon clicking the icon the QVD Client will make its appearance. Options are split into two tabs:
-
The connection tab with the session fields
-
The settings tab with the configuration options
-
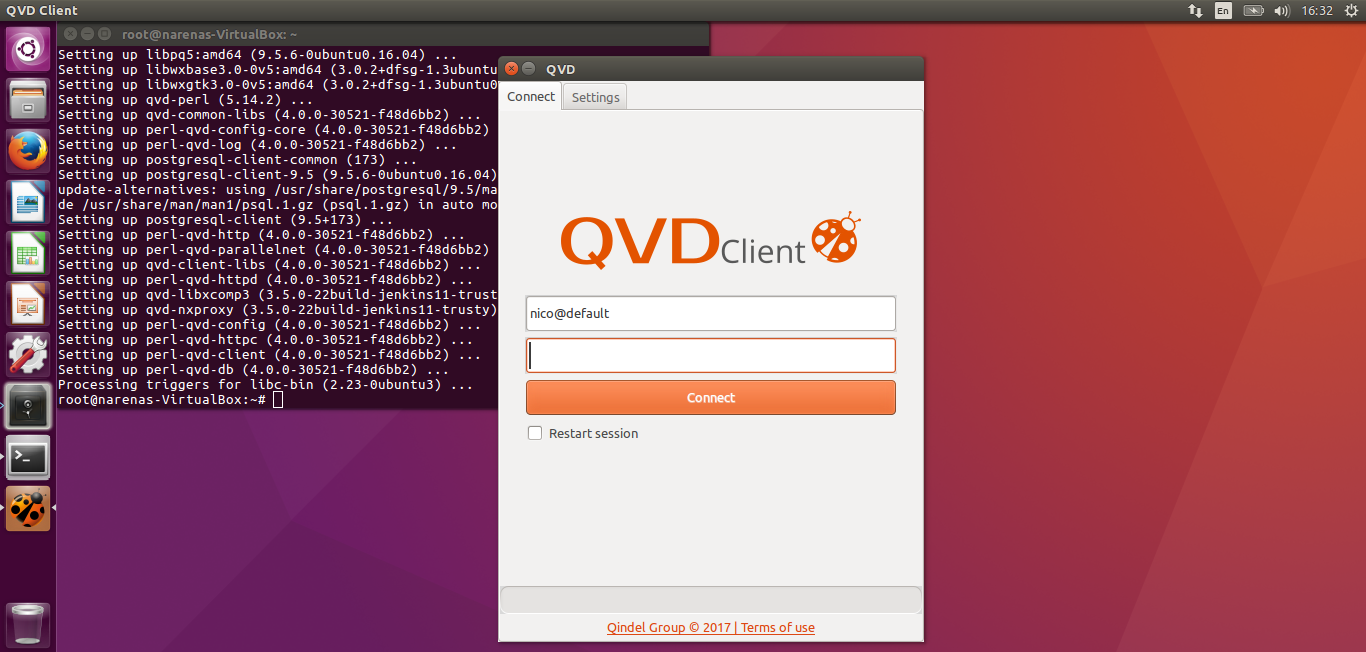
4. Starting the Client
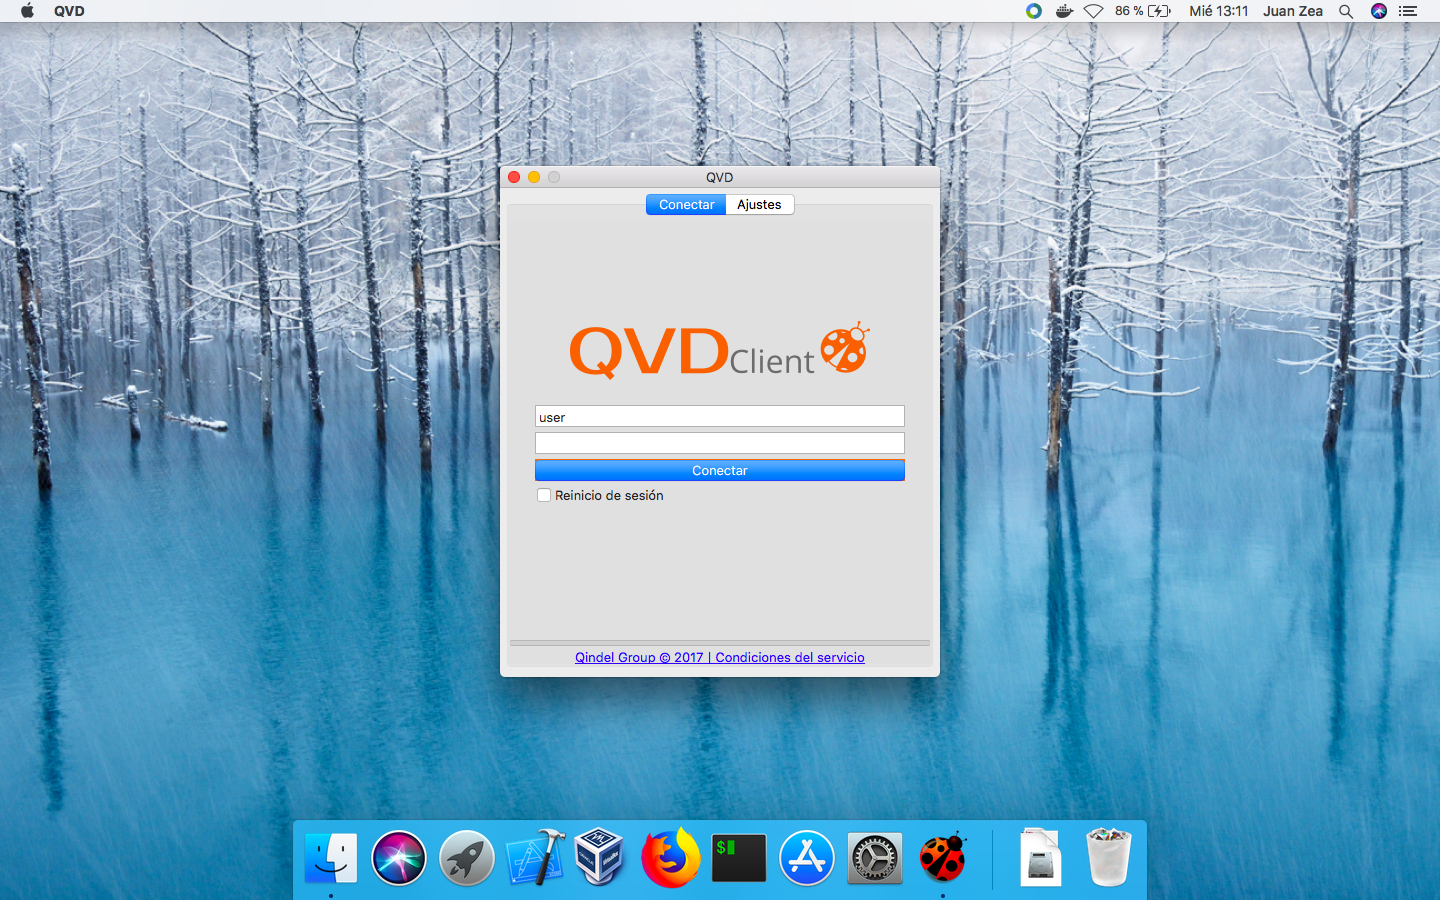
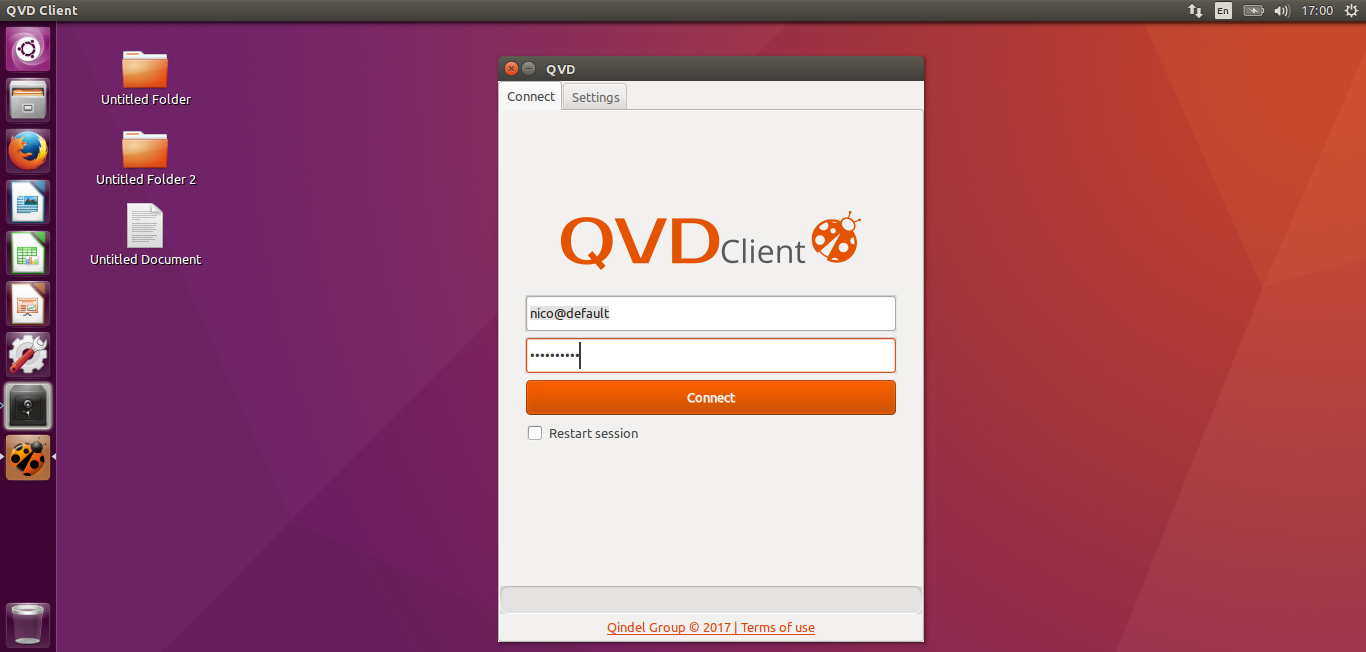
When the client starts up, the client with the Connect tab open is shown before us.
This tab is composed of:
-
Login field: Where the user will enter their login to start the session.
-
Password field: Where the user will enter its password.
-
Connection button: To connect to the VM.
-
Checkbox for restarting the session: If the user selects this checkbox, at the moment of the connection a reset of the session of the user will be produced, losing the works that there would be in the same one if the user had not saved the documents of this one.
There is also a Settings tab with connection, connectivity and sharing options. These options will be explained later.
Connecting to a desktop
To connect to a desktop, the first thing we have to do is configure the QVD server to which we want to connect, for this we will click on the settings tab and type the domain or FQDN of the server to which we want to connect .
The type of connection in this case we will leave it to Local.
|
|
This configuration will be saved for future executions. |
Once this is done, we will return to the Connect tab where we will introduce the corresponding login and password.
|
|
We remind you that the login will be by default in the format [user]@[tenant] |
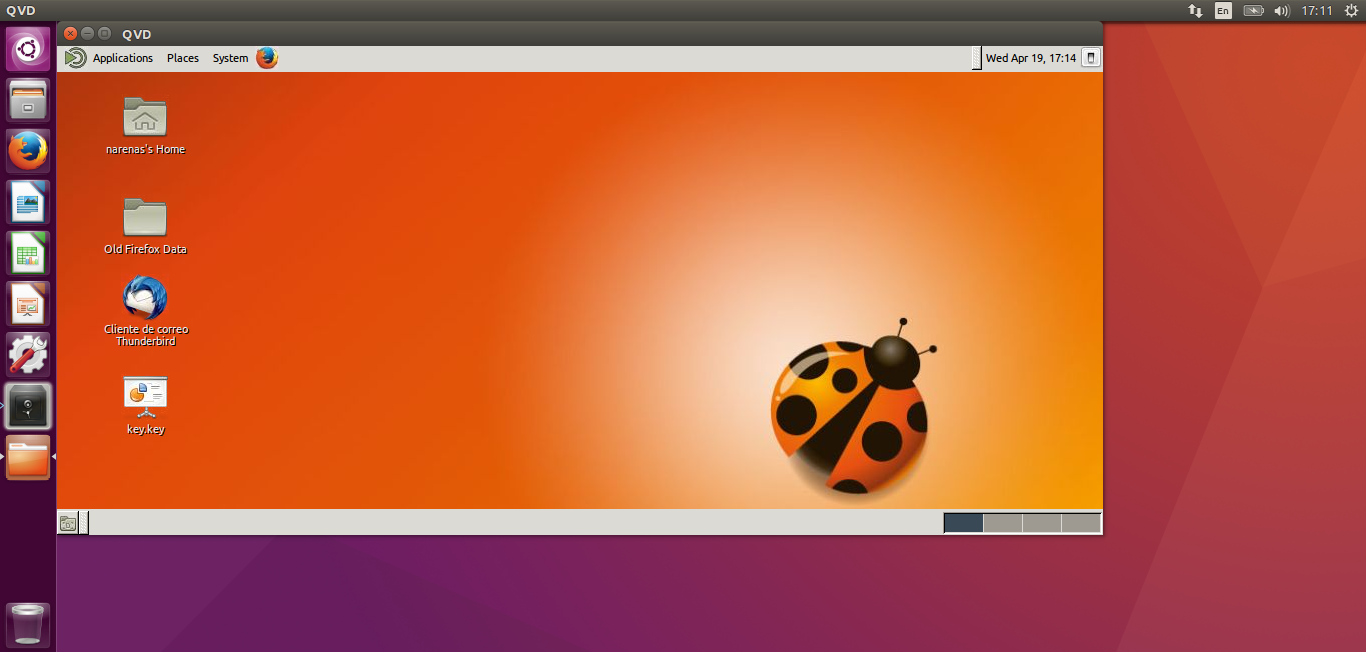
By pressing the connection button, if we only have a desktop configured and the certificate presented by the QVD connection broker is considered valid, our virtual desktop will appear directly.
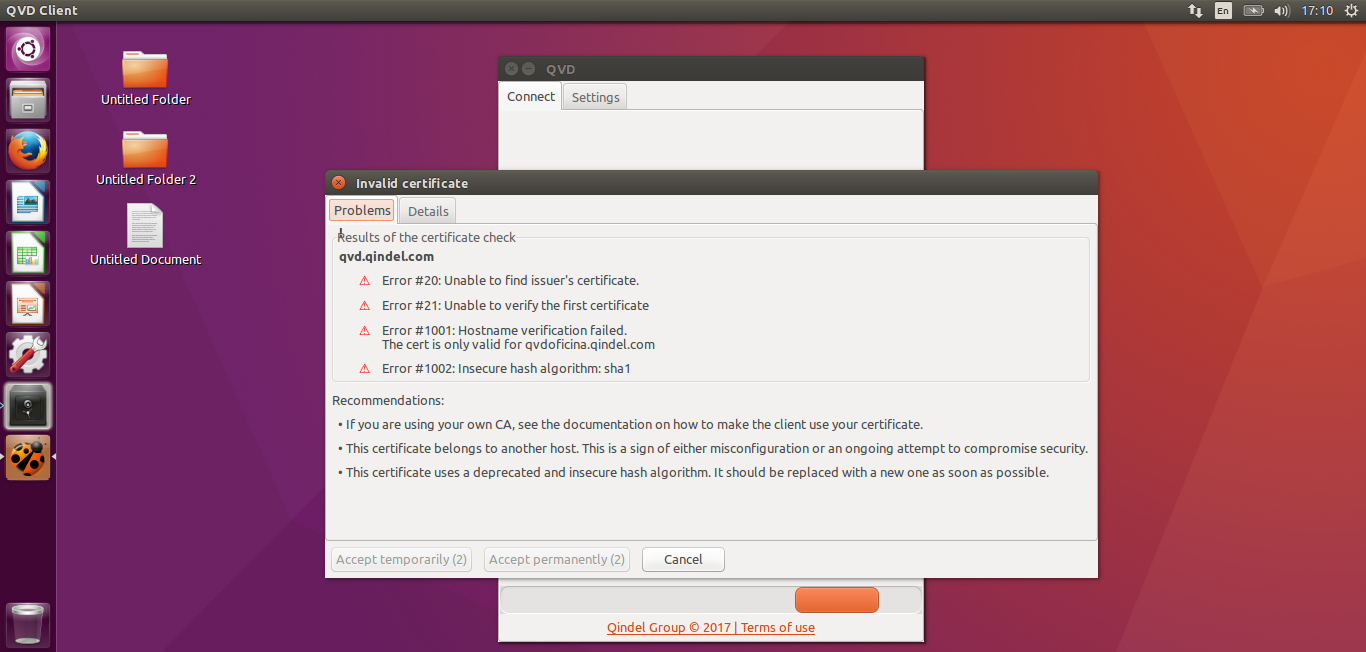
1. Invalid SSL certificate
In case the SSL certificate presented by the L7R is not considered valid, a screen will appear with the different problems that the certificate presents, allowing us to stop connecting, accept the certificate permanently or accept the certificate temporarily. In case we accept it temporarily, the same notices will appear again the next time we connect to our virtual desktop.
2. Several desktops
It can also happen that the user making the connection has several virtual desktops assigned. In this case the QVD client will show us a selection box in which we can choose which desktop we want to connect to.
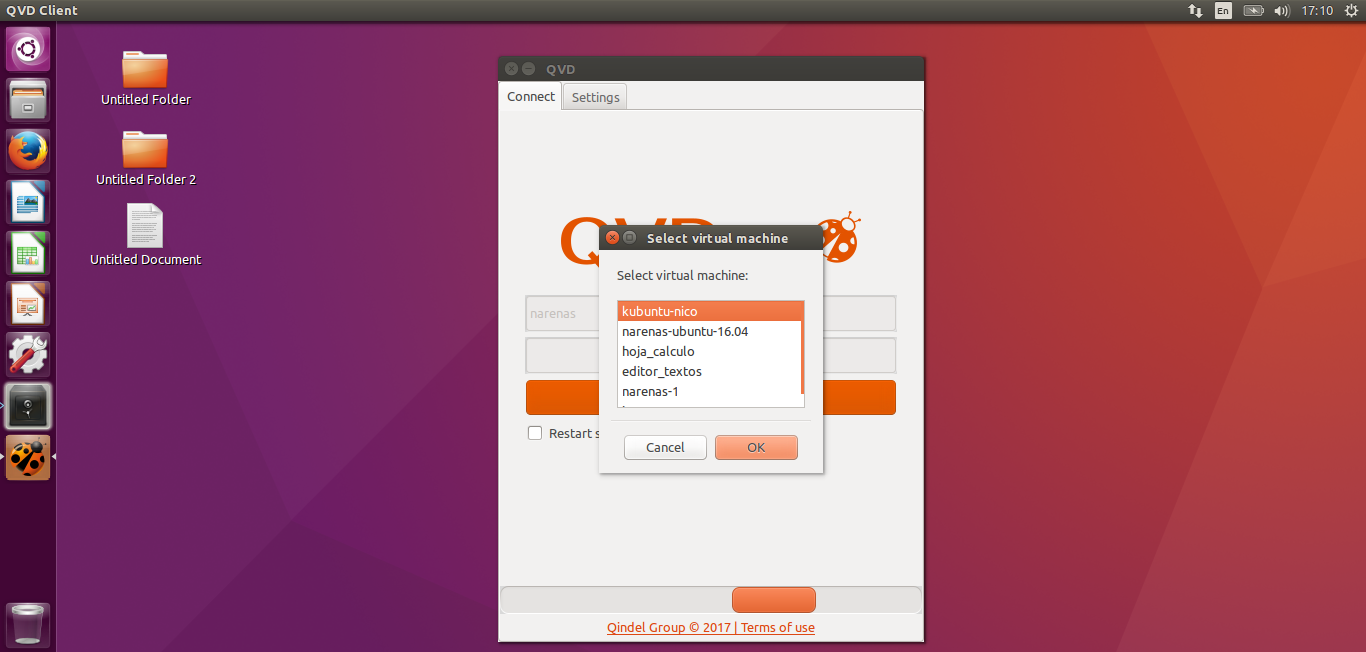
Simply selecting the desktop to which we want to connect and clicking the OK button will access our desktop.
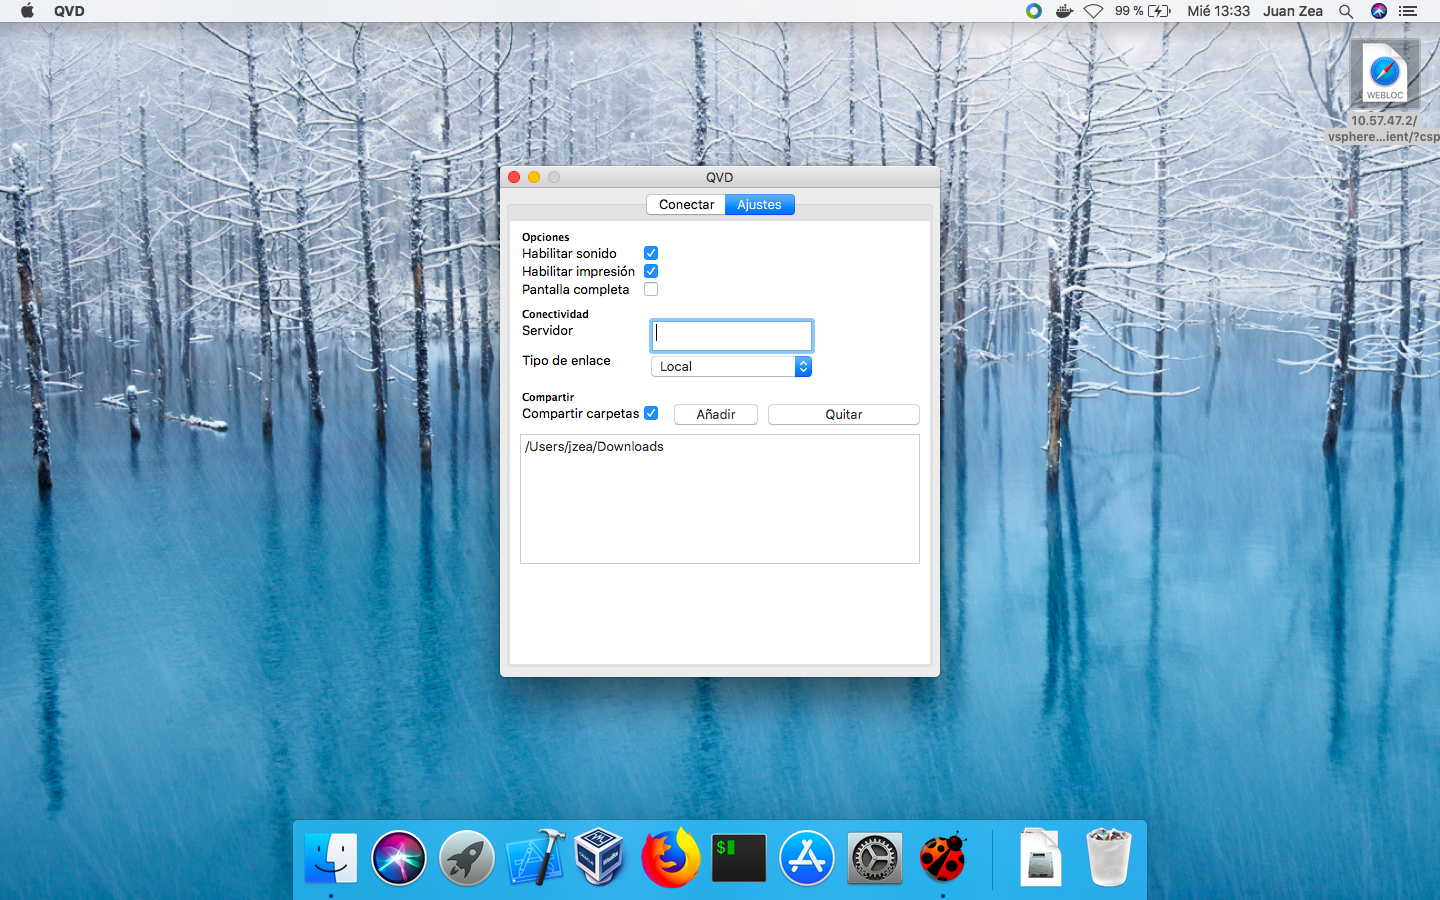
Settings tab
There are several features that can be configured from the QVD client. All of them can be configured from the same screen, that is, the Client Settings screen.
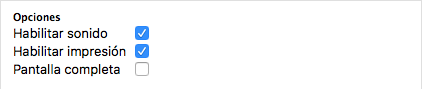
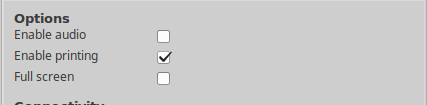
1. Options
In the Options section we have 3 checkboxes from which we can choose the following options:
-
Enable sound: To enable sound in QVD.
-
Enable printing: In case it is selected, the local printers that the user has configured in the working station from where it is connecting to the remote desktop will be exported to the virtual desktop, allowing to print the jobs that the user wants.
-
Full screen: In case it is enabled, the QVD desktop will be displayed in full screen instead of windowed mode, which is the default.
2. Connectivity
Two Options appear in this tab, Server and Link Type.
-
Server: We will put the domain or FQDN of the server to which we will have to connect to show our virtual desktop.
-
Link type: We have to choose one of the following three values depending on the type of connection we have, the types of links that the QVD client supports are the following:
-
Local
-
ADSL
-
Modem
-
3. Printing
The client allows us to share the printers in the client machine with the vm. The option to enable When activating the option to enable printing, the printers installed on the client machine will be shared with the virtual machine.
3.1. Printing in Windows
In Windows, after activating the option to share printers, every printer installed in the client machine will be shared in the virtual machine with the prefix * QVD- * in its name.
In images prior to QVD 4.1, it is necessary to make the following changes when sharing printers:
-
Go to Start and look for manage advanced sharing settings.
-
Make sure in your current profile, that file and printer sharing is on.
-
Under all networks, turn off password protected sharing at the bottom.
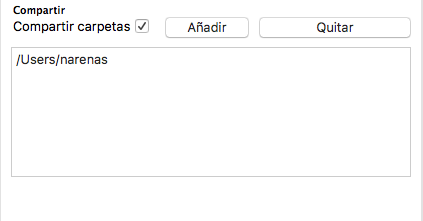
4. Folder sharing
The folder sharing box has a check button, which allows you to enable/disable the sharing of folders and two buttons that allow you to add or remove shared folders.
|
|
Folders must be shared before the user logs in within the QVD environment. If you want to modify the folders, it will be necessary for the user to cut the QVD connection and change its folder sharing configuration. |
|
|
The configuration of shared folders requires that port redirection is enabled in the VMA. |
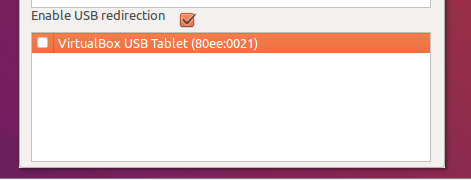
5. USB redirection (Linux Client only)
The Linux client has the possibility to share USB devices over IP protocol. This allows devices that are connected to the user’s PC to appear on the user’s desktop.
For it to work it is necessary to enable the checkbox to later select the device that we want to be displayed on the user’s remote machine.
|
|
USB port redirection is available only to QVD subscription clients and requires the installation of additional components. |
6. Keyboard Shortcuts
6.1. Linux / Windows Client
There are different keyboard shortcuts that can be used in QVD to make different options
Ctrl + Alt + Shift + Esc |
To exit a session that is not responding |
Ctrl + Alt + T |
To end or suspend a session. |
Ctrl + Alt + F |
To enter and exit full screen mode. (This key combination is not available in Windows clients). |
Ctrl + Alt + Shift + F |
To switch to multimonitor mode. |
Ctrl + Alt + M |
To minimize or maximize full screen mode |
Ctrl + Alt + arrow keys |
To navigate between different desktops. |
Ctrl + Alt + R |
To change to auto resize mode. The client starts in this way, so users can resize the screen simply by resizing the main window. |
Ctrl + Alt + E |
To activate the lazy encoding. |
Ctrl + Alt + J |
To try to solve display problems. |
Alt + F4 |
When the window manager is present, it allows you to end a session. |
Ctrl + Alt + K |
Enables and disables the capture of the Alt + Tab and Print Screen keys. |
|
|
Some of the combinations of keys indicated cause the disconnection of the user, once the session is reconnected is when the enabled features are effective. |
6.2. Mac Client
Command + Ctrl + f |
Switch to full screen mode. |
Command + Ctrl + t |
End the session/disconnect. |
Command + Ctrl + m |
Minimizes the remote desktop window. |
Command + Ctrl + e |
Enables the lazy encoding. |
Command + Ctrl + r |
Enables/disables the resizing of the screen. |
|
|
Some of these shortcuts can overlap with desktop shortcuts by default. It may be necessary to modify these, for this you can follow this link |
7. Logs and Debug
In the home of the user a directory (.qvd) is created, which contains a file called client.conf. In case you want to increase the level of detail of the logs’s output, we will have to add the following line to the file with the text editor of our choice:
log.level = DEBUG
The logs that are created in the client are saved in the same directory where the client.conf is located and one is created for each session that starts with QVD.
8. SSL Configuration
By default QVD is very restrictive with respect to the connections it allows and with the certificates that companies can use to make the connection between the client and the QVD servers.
However, these configurations can be relaxed by modifying the following parameters in the client.conf
# Allow the certificate to be encrypted with a key less than 2048 bits
client.ssl.allow_weak_key = 1

# Allows the name of the certificate does not match the name of the host where the certificate is being presented.
client.ssl.allow_bad_host = 1

# To allow certifiates revoked or not.
client.ssl.allow_revoked = 0

# So that the client can accept certificates that the system does not consider trustworthy.
client.ssl.allow_untrusted = 1

# To allow the system to accept certificates that have expired.
client.ssl.allow_expired = 1

# So that the client can accept certificates that will be valid after a certain date
client.ssl.allow_not_yet_valid = 1

# To allow accepting certificates with SSL errors controlled by the client QVD
client.ssl.allow_unknown_error = 1
It is also possible to define which SSL versions are allowed through the paramenter client.ssl.options.SSL_version which by default brings the following values.
client.ssl.options.SSL_version = SSLv23:! SSLv3:! SSLv2:! TLSv1