Introduction
The QVD user portal is a web tool to being connected to the QVD Virtual Desktops.
The current guide describes the steps to install the User Portal (UP) of QVD. The requirements and necessary steps to setup the UP will be described, both in server side and user side.
User side
In the user side, the User portal is basically a web portal with which the connection with the Virtual desktops is made. This connection can be established in two ways:
-
Through the browser using HTML5 technology
-
Launching the QVD classic client from the browser
Both methods have different requirements, so we will describe them separately.
1. Requirements
1.1. HTML5 client
-
Connection with the server: To use the HTML5 client will be necessary that the computer have connection with the QVD server. This does not necessarily imply having an Internet connection, since it is possible to use QVD in a local network.
-
A modern web browser: Any updated web browser is enough to use the User Portal. If there is a limitation with the browser versions, the following compatibility matrix should be in mind.
1.1.1. Browsers compatibility matrix
Below, the versions of browsers from which compatibility is guaranteed are defined. Some previous version may be valid for the application, but it is not recommended.
| Chrome | Firefox | Internet Explorer | Edge | Opera | Safari |
|---|---|---|---|---|---|
49+ |
44+ |
11+ |
12+ |
36+ |
11+ |
1.2. Classic client
-
Connection and Web browser: To use the User portal to launch the QVD classic client, the requirements described above for the HTML5 client must be fulfilled, because the web portal is used anyway.
-
QVD Client 4.1 or higher: In addition, you must have a QVD Client installed in the system. This client will be launched in the background by the web application.
2. Installation
2.1. HTML5 Client
To use the HTML5 client, no installation required, simply enter the provided URL in your browser and use the provided credentials by the administrator.
The user portal includes everything necessary to use the HTML client once it has been accesed with personal credentials.
2.2. Classic client
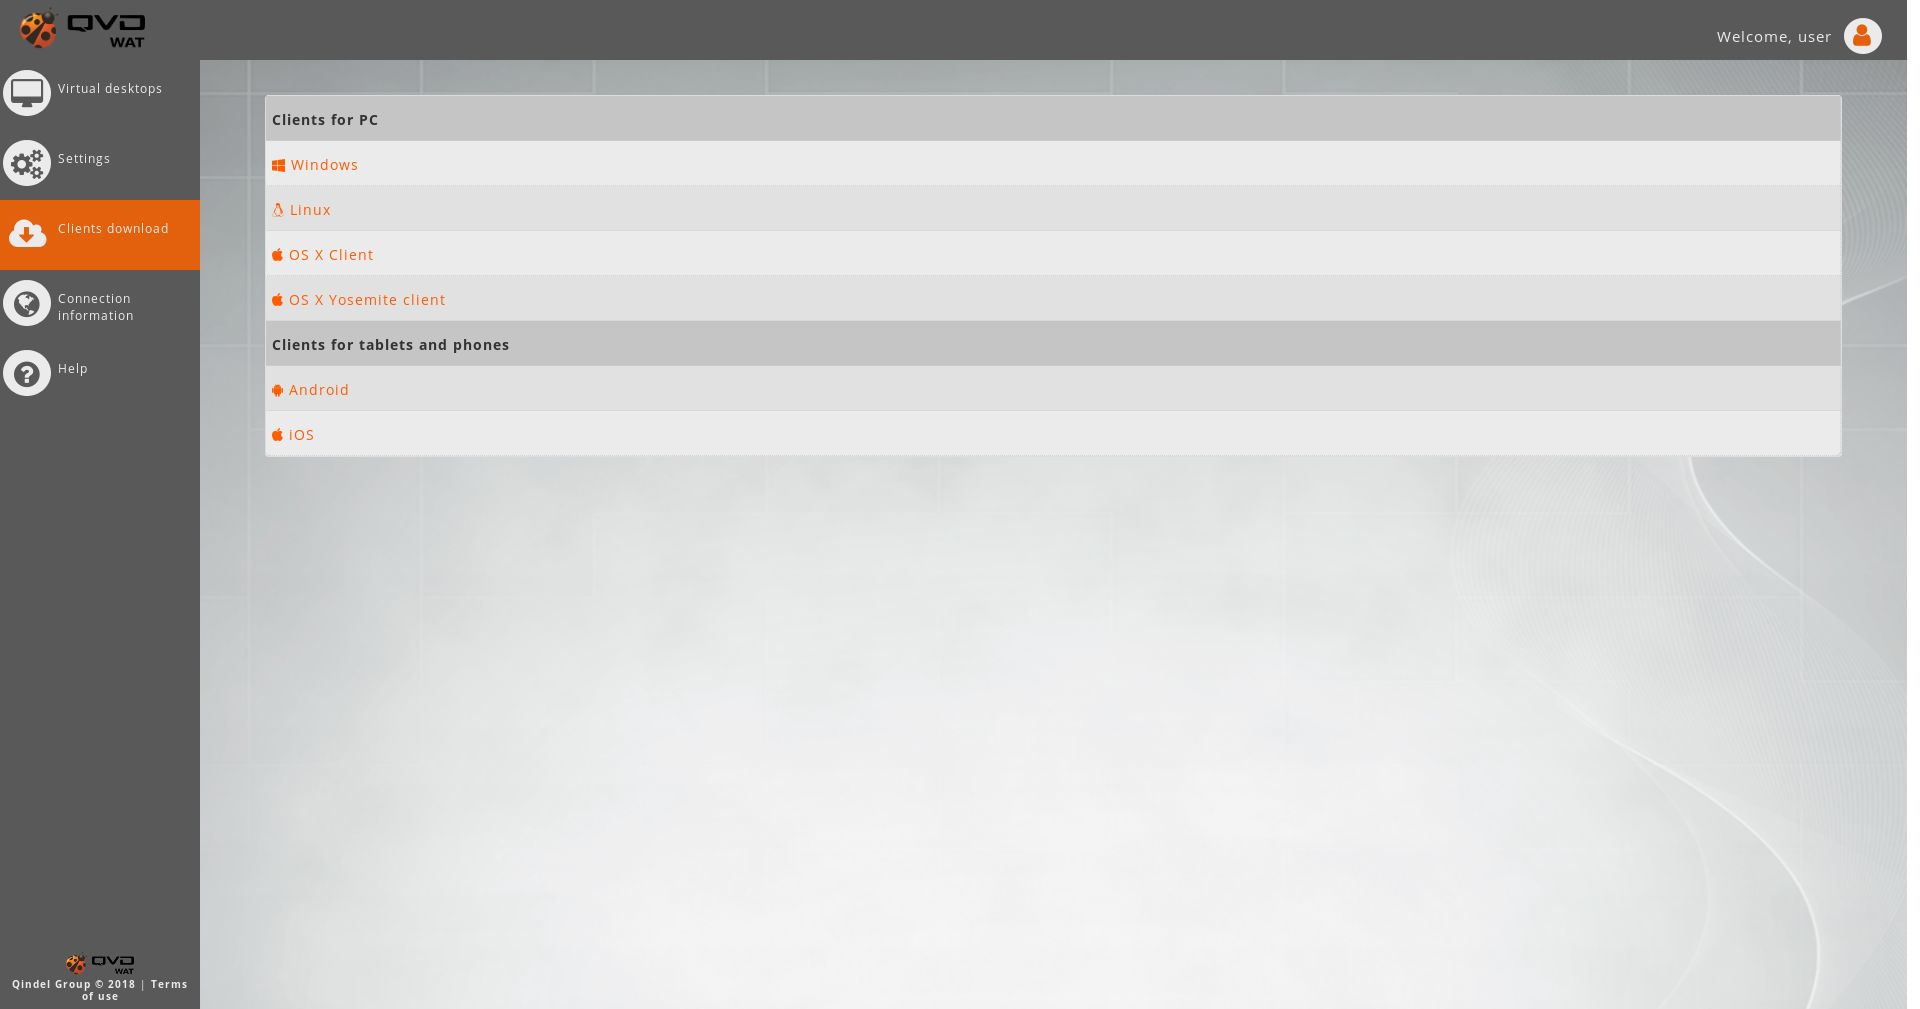
There is a QVD client for each operating system. The download for its installation is accesible from the User portal in the downloads section.
For more details about the installation, consult the quick installation guide of the client in the operating system that you need or the QVD client general documentation.
The server side
1. Requirements
-
QVD 4.1 or higher
-
Docker CE 17.04 or higher
2. Installation
- Install Docker
-
The minimum version required is Docker Community Edition 17.04.
For installing, use this link documentación oficial
- Download docker image
-
Use the following command to download all the requirements for using Docker from Dockerhub:
docker pull theqvd/qvd-nx2v-gateway:latest
- Add the QVD repository
root@myserver:~# wget -qO - https://www.theqvd.com/packages/key/public.key | sudo apt-key add -
root@myserver:~# echo "deb http://theqvd.com/packages/ubuntu-xenial QVD-4.1.0 main" > /etc/apt/sources.list.d/qvd.list
root@myserver:~# apt-get update
- Installing the User portal
apt install perl-qvd-up
- Start the service
-
When installing UP, the service qvd-up-api will be registered.
To start the service we will write:
service qvd-up-api start
3. Configuration
In order to the User portal connection being established with the database as well as with the QVD containers, it is necessary to be configured pointing to the necessary components.
|
|
After changing any configuration, a token will be necessary to restart the User portal service: |
service qvd-up-api restart
The configuration is located in the file /etc/qvd/up-api.conf
|
|
This configuration could be overwritten by the QVD database |
3.1. Database
The User portal and the QVD installation use the same database. It can be in the same machine than the QVD installation or in another, and its configuration is given by the following configuration tokens.
database.host = example.com
database.name = qvddb
database.user = qvd
database.password = qvd
3.2. L7R
To authenticate users, you must configure the address where the L7R is listening, which is the same address used in the classic client settings.
This address is configured with the following token:
up.api.l7r.address = example.com
3.3. Docker image
In the connection process, the User portal creates a container in docker. To do this, you must configure the name of the docker image created in the installation process using the following token:
up.api.docker.image.h5gw = theqvd/qvd-nx2v-gateway:latest
3.4. Log
In addition, there are other tokens to configure the log level as well as the files where both the standard and the error outputs of the User portal’s backend code will be redirected.
log.level = DEBUG
up.api.stderr.filename = /var/log/up-api.log
up.api.stdout.filename = /var/log/up-api.log
|
|
The easiest way of change those tokens is from the QVD Configuration section on WAT if you have the proper permissions or using the QA4 tool with the command qa4 config set tenant_id=-1,key=token.name,value=tokenValue |