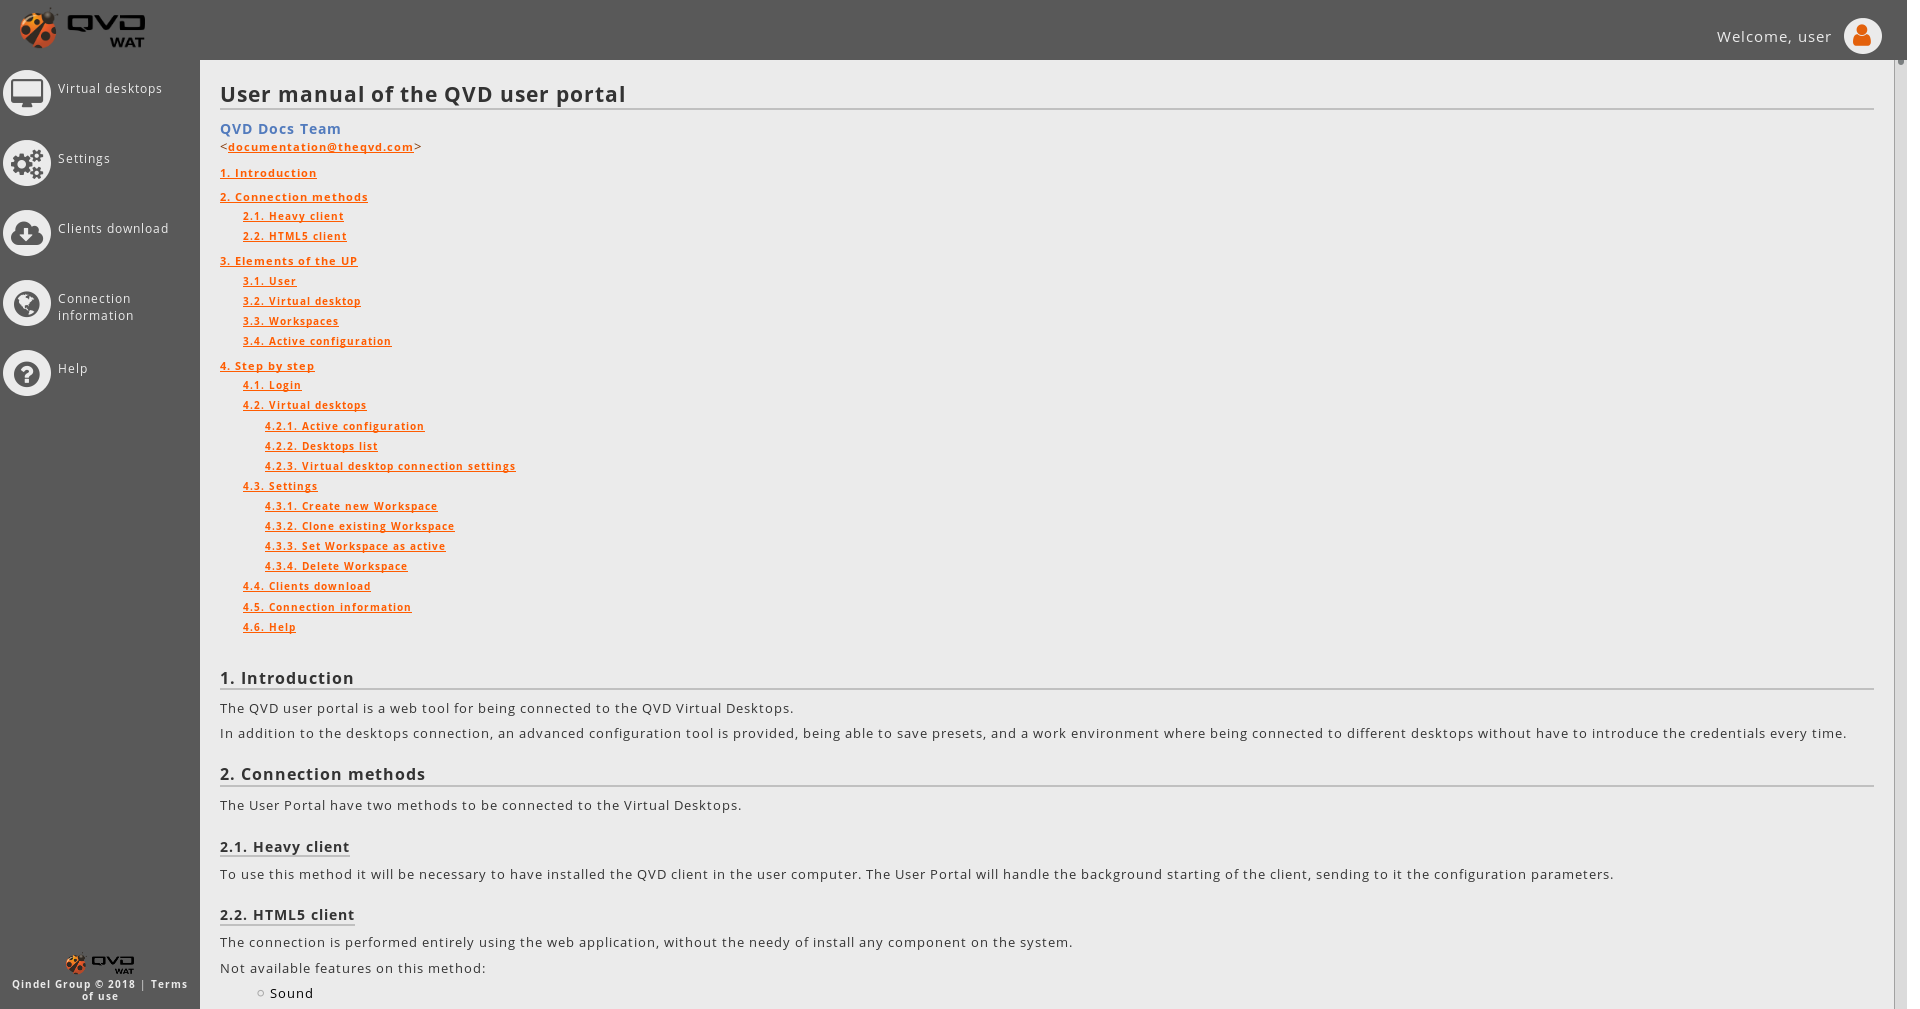
1. Introduction
The QVD user portal is a web tool you can use to connect to QVD Virtual Desktops.
In addition to the desktops connection, an advanced configuration tool is provided, being able to save presets, and a work environment where being connected to different desktops without have to introduce the credentials every time.
2. Connection methods
The User Portal has two methods to connect to Virtual Desktops.
2.1. Heavy client
To use this method it will be necessary to have the QVD client installed in the user computer. The User Portal will handle the background startup of the client, sending it the configuration parameters.
2.2. HTML5 client
The connection is performed entirely using the web application, without the needy of install any component on the system.
Not available features on this method:
-
Sound
-
Shared folders
-
USB devices
-
Printing
3. Elements of the UP
In this section will see the different elements of the User Portal.
3.1. User
It is the QVD User whose credentials he/she access to the User Portal to visualize and connect to his/her Virtual Desktops.
-
The credentials are the same used in the QVD heavy client
3.2. Virtual desktop
The Virtual Desktops are the associated desktops to the user who access to the User Portal. These desktops correspond with deployed and administered Virtual Machines in QVD.
3.3. Workspaces
They are configuration parameter presets under which user is connected to the desktops.
To have different configurations stored is usefull when the user connects to his desktops from different locations, with different connection speeds, etc.
-
By default, a user will have always a predefine Workspace.
-
Each user can create and edit the Workspaces that he wants.
-
Always will be a Workspace defined as active. Being the Active configuration that will be treated in other section.
3.4. Active configuration
The UP active configuration is a Workspace whose parameters are used on the Vistual Desktops connection by default.
-
Is possible to change the Workspace setted as active configuration from the Virtual Desktops screen as well as the Settings screen.
-
The active configuration is stored between user sessions.
-
The active configuration will be overwritted by those desktops whose connection settings were defined.
4. Step by step
4.1. Login
In the login screen the user credentials will be introduced, wich are the same used in the classic QVD client.
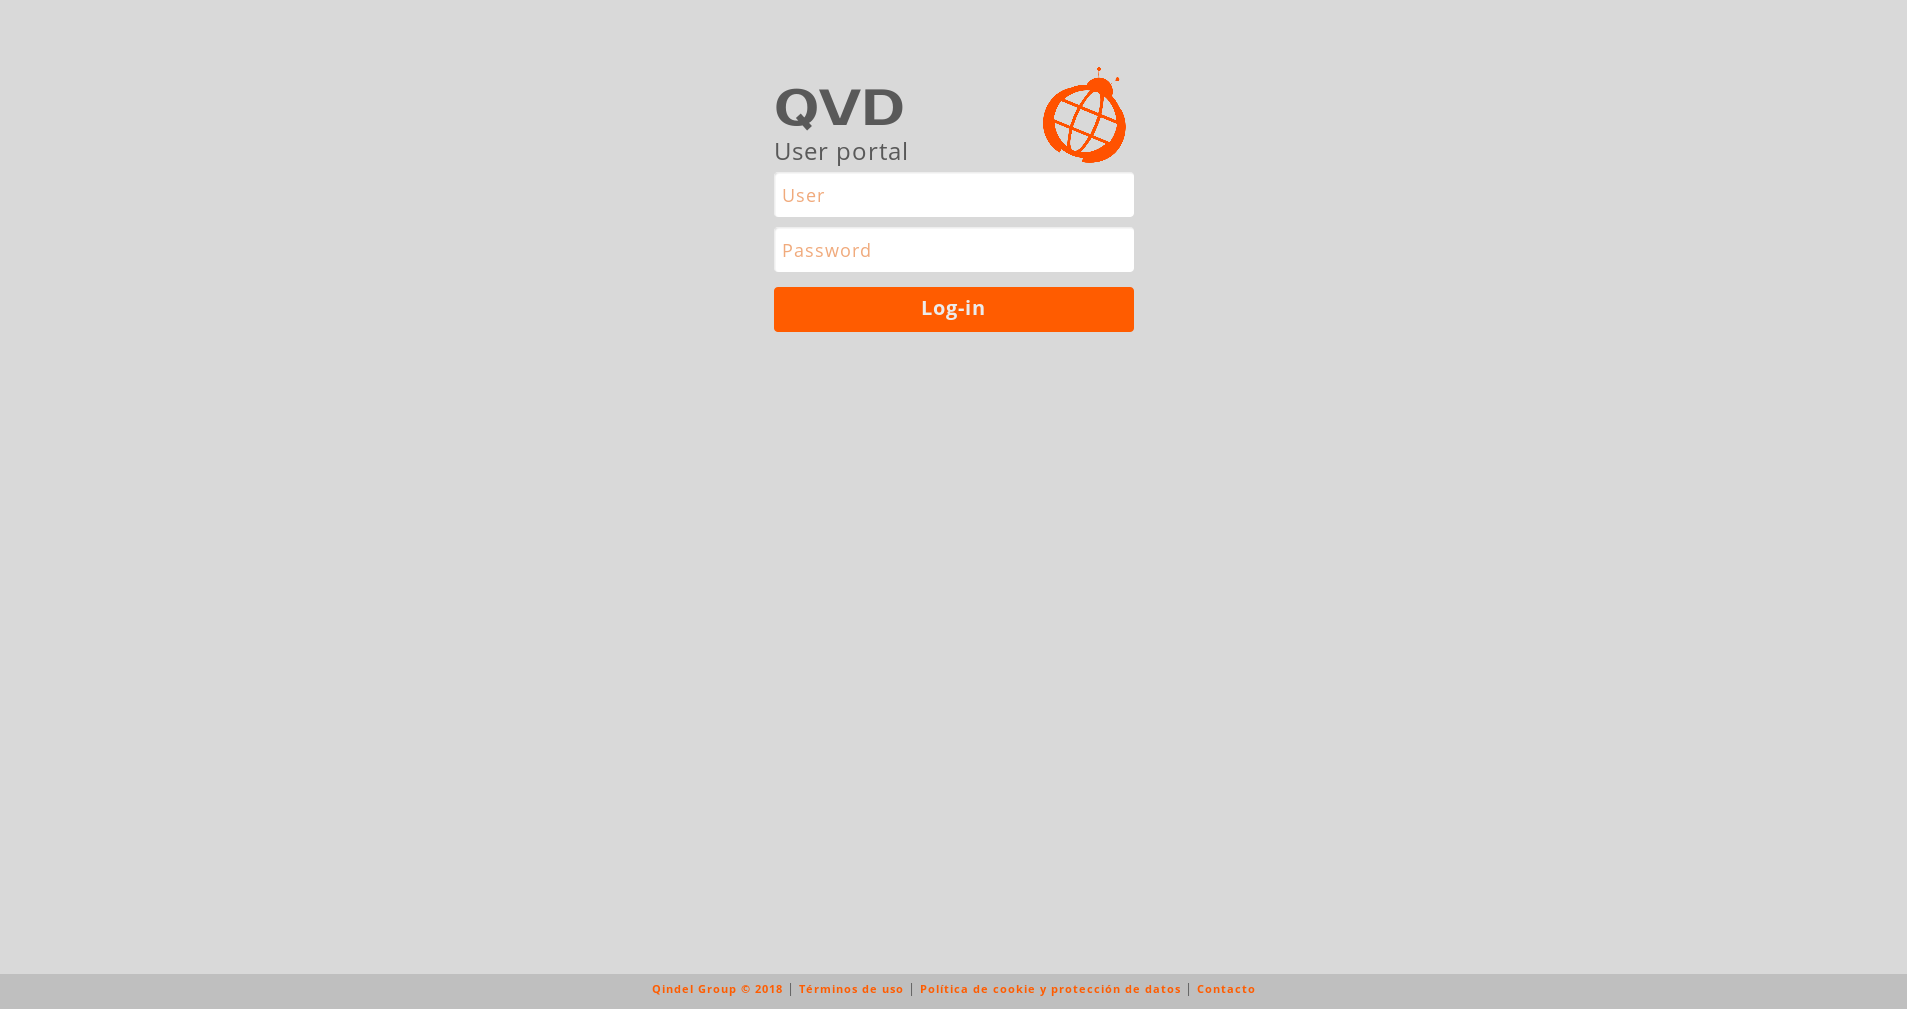
After introduce the credentials correctly, the access to the application will be granted, being the Virtual Desktops section the main page.
On the left will be located the menu with the different application sections.
4.2. Virtual desktops
On this section we got the Virtual Desktops associated in QVD to the User whose start session.
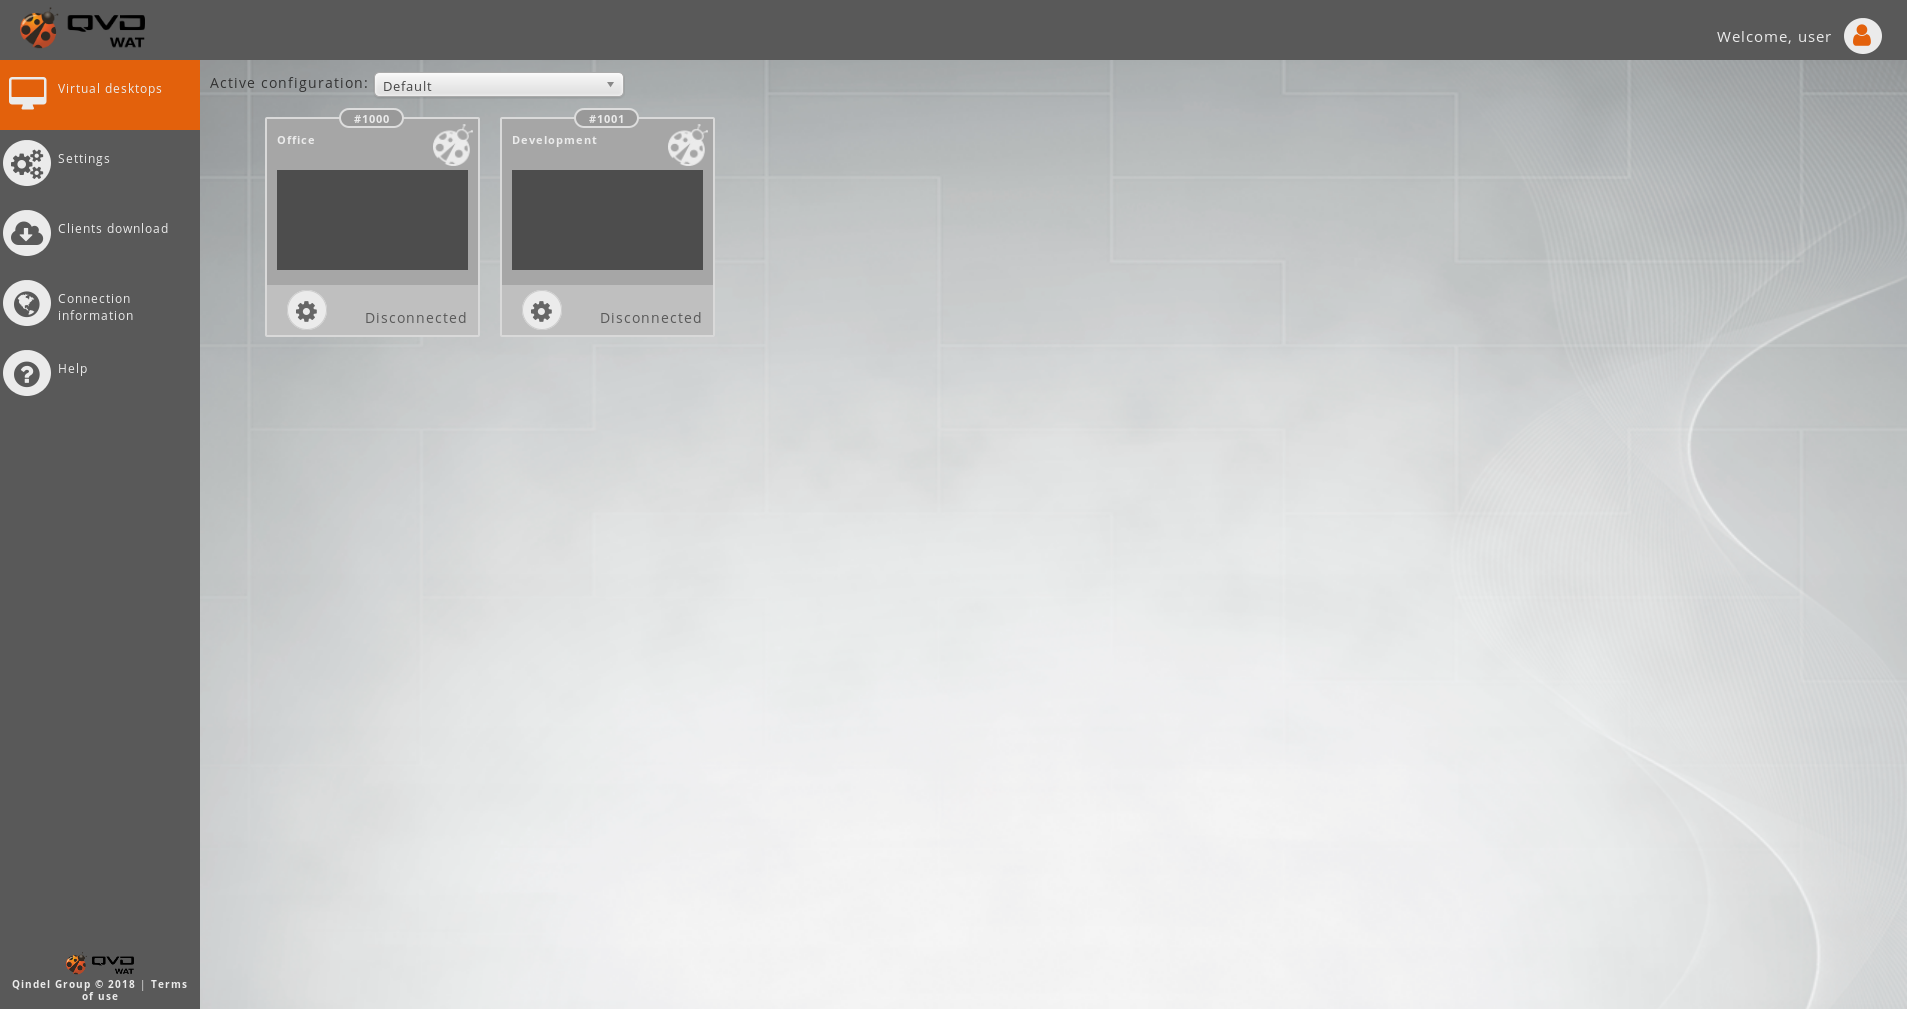
4.2.1. Active configuration
In the upper left there is a selection combo with the Workspace whose configuration will be the Active configuration.
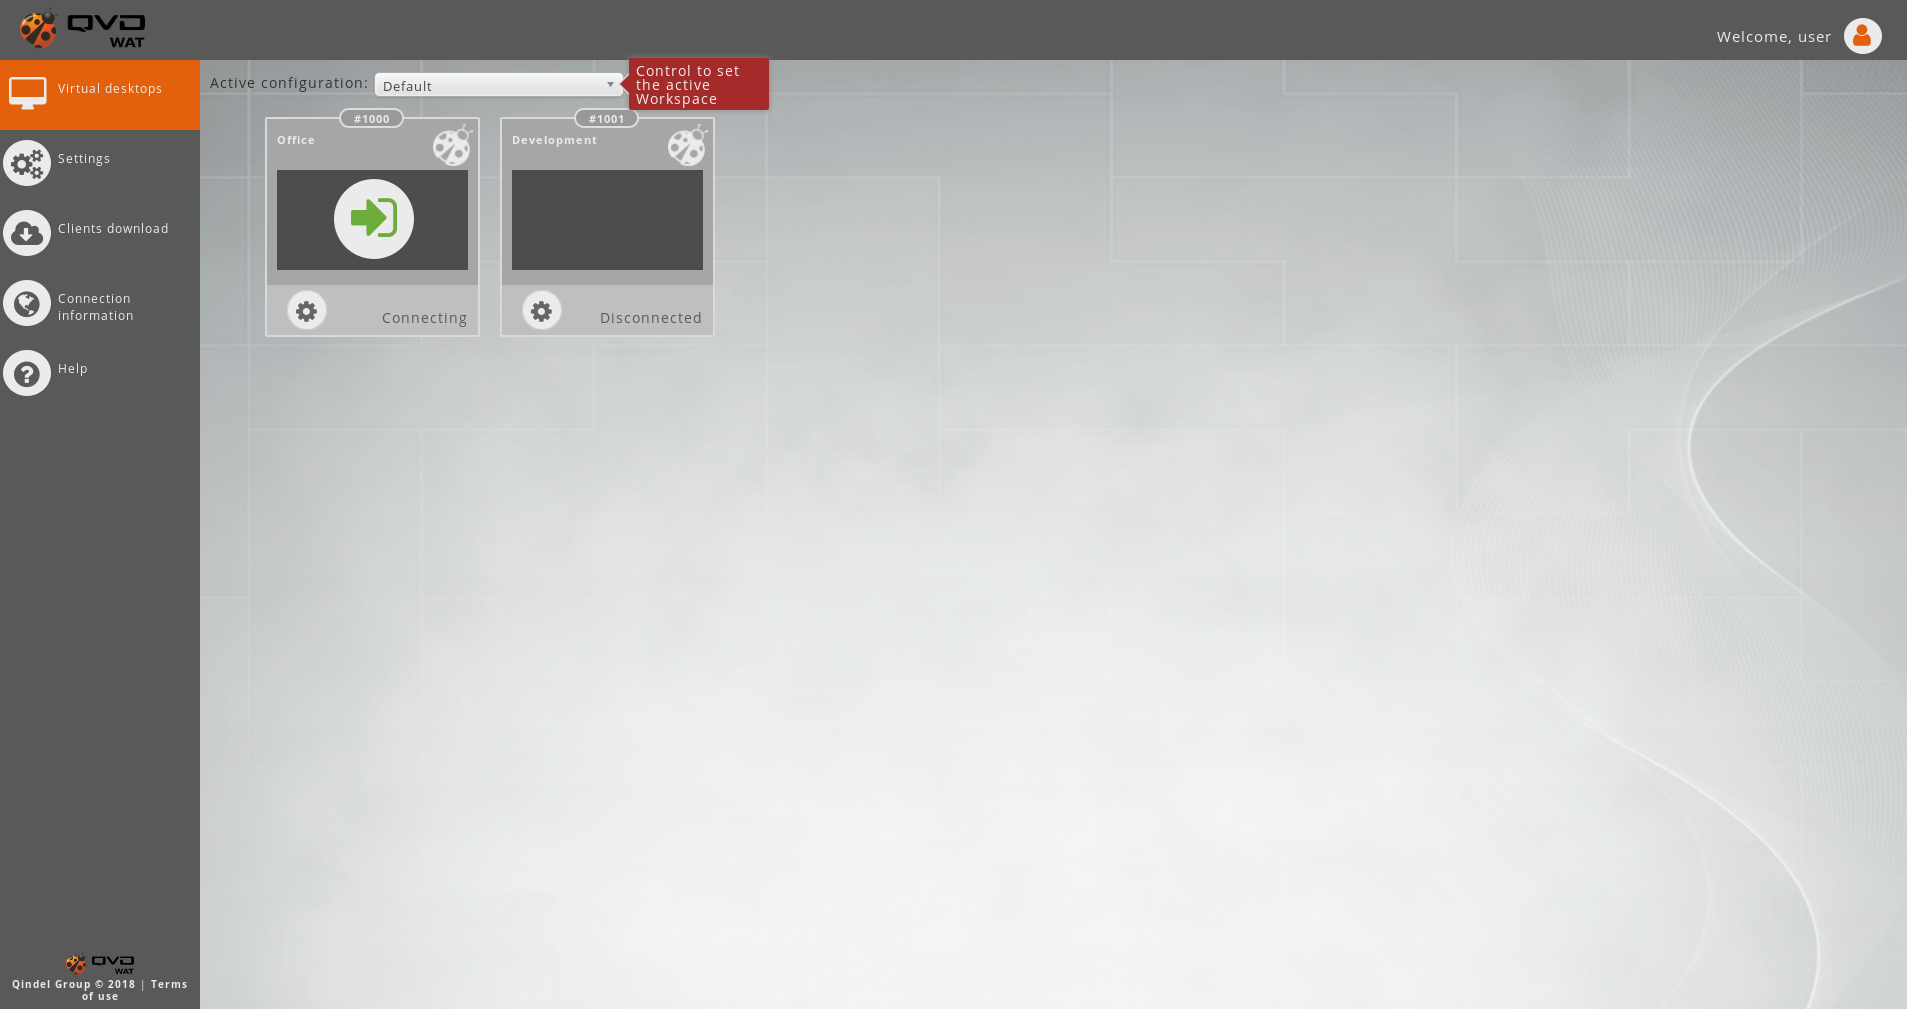
The Active configuration will be the configuration used for the connection of the desktops without own settings.
The desktop own settings will be treated in the Connection settings section.
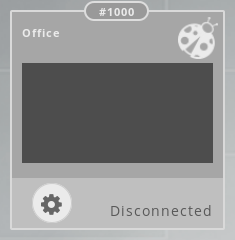
4.2.2. Desktops list
The main block of this section is the Virtual Desktops list.
Each desktop has informative data as his name, identifier and status. In addition, it has interaction areas to perform actions such as connect to the desktop or edit its configuration.
Informative data
-
Name: The name of the desktops is predefined but can be edited by the user.
-
Identifier: The ID of the desktops is only shown just in case in future incidents can be requested to the user.
-
Status: The status shows if the user is connected or not to the desktop. The different posible status are:
-
Disconnected: The user is disconnected.
-
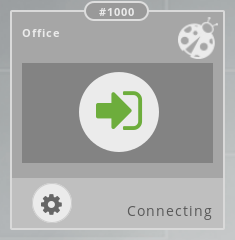
Connecting: The user is being connecting.
-
Connected: The user is connected.
-
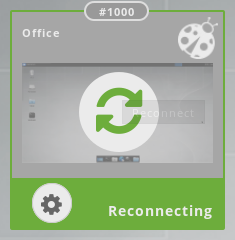
Reconnecting: The desktop is resetting the connection to reconnect the user. Useful in case of having the user connected from other computer or blocking of the system.
-
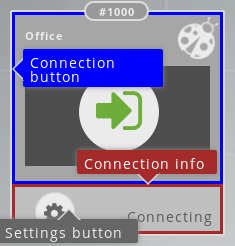
Interaction areas
The Virtual Desktops are represented as boxes, in wich most of the surface will serve as connection button. The rest of the box, with rectangle shape on the bottom, have connection information and a settings button.
-
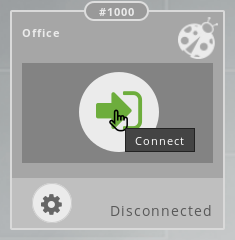
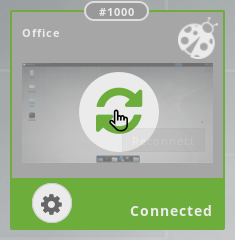
Connection/Reconnection
To being connected to a Virtual Desktop you have to click on any part of the box that represents the Desktop but the bottom rectangle. When we move the mouse over it we observe the appearance of the connection icon.
When you click on Connect, the desktop will change to the status Connecting When the connection will be established, the status will change to Connected.
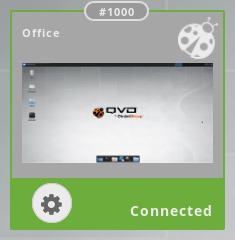
When the desktop is in status Connected the same area used to make the connection, will serve to the user to the user to Reconnect to the Desktop. In the same way, when you move the mouse over it we observe the appearance of the reconnection icon.
-
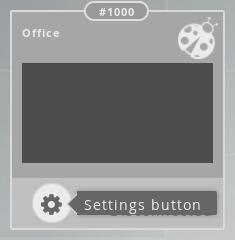
Connection settings configuration
In the lower left corner of the boxes that represent the Virtual Desktops there is a button to access to the desktop configuration settings.
4.2.3. Virtual desktop connection settings
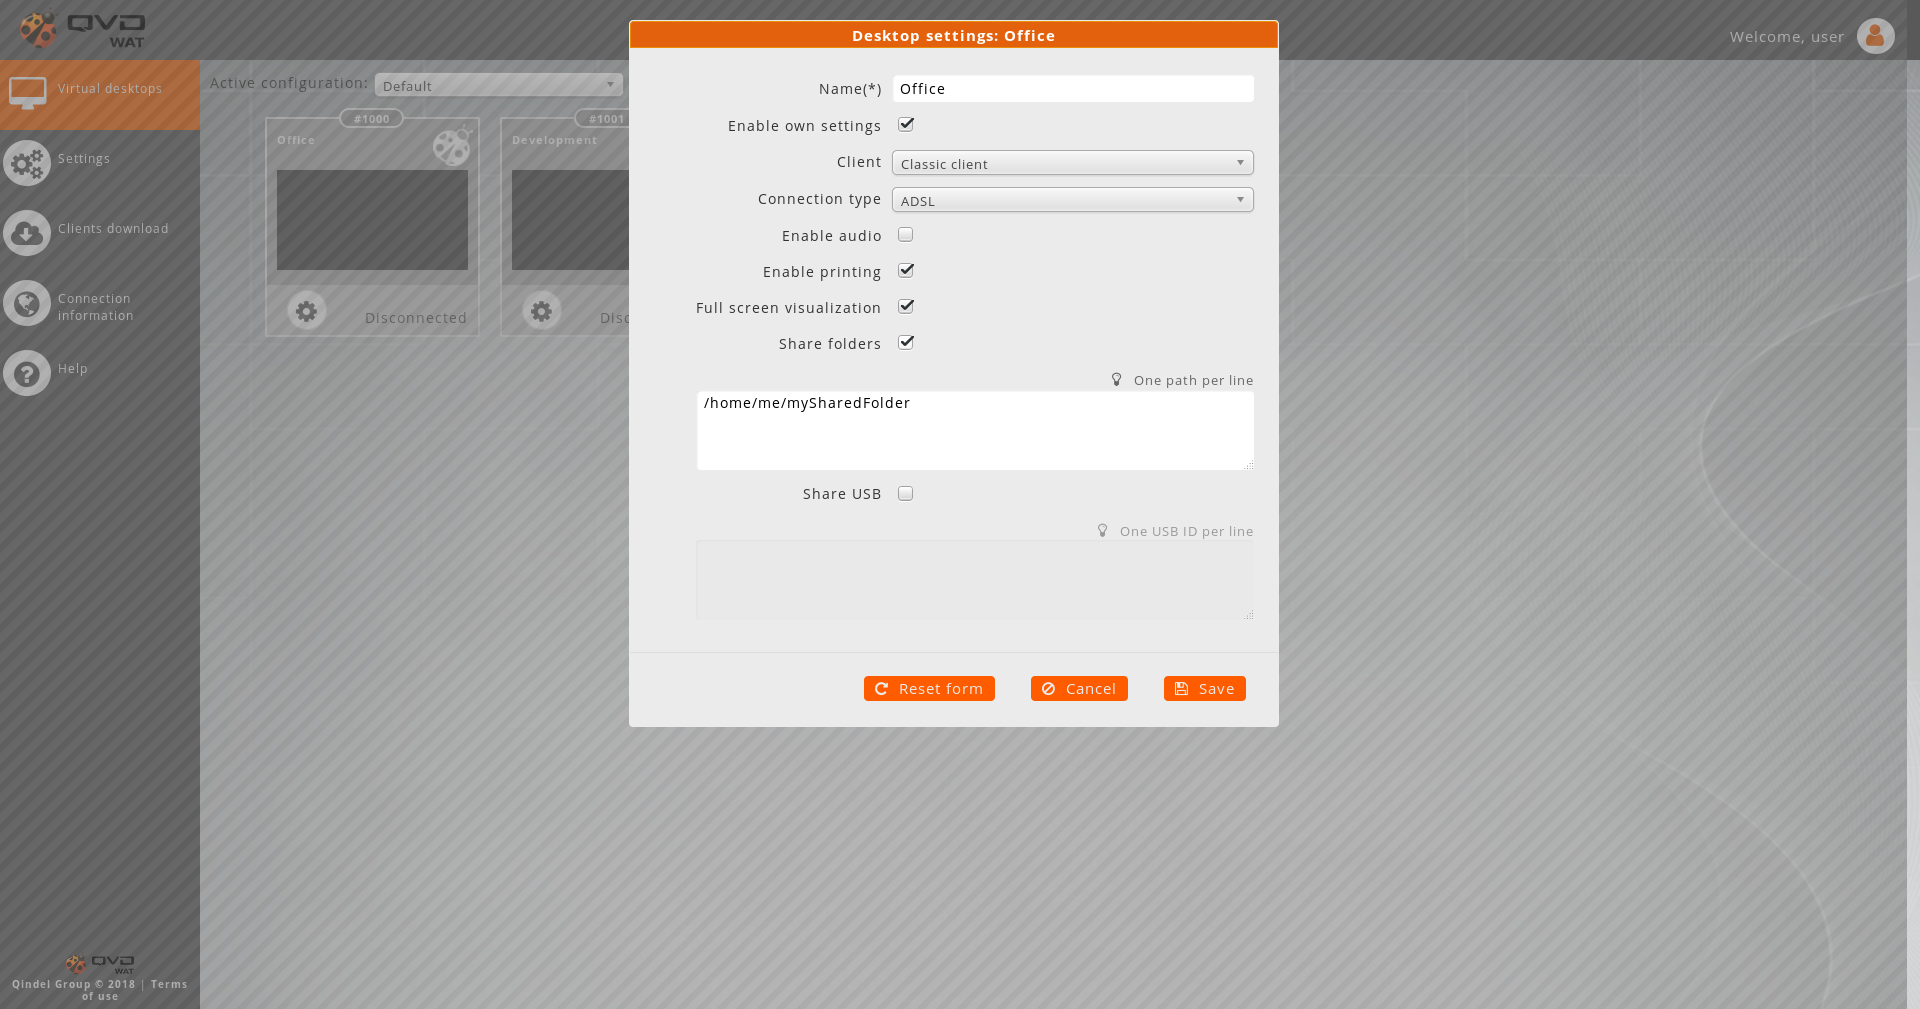
When we click on the connection settings button of a Virtual Desktop, a modal window with different options will emerge:
-
Name: With this field, the user can customize the Desktop name. This name will be visible only by the user.
-
Enable own settings: If this option is disabled, the following options will be disabled too and it will be taken from the current active configuration.
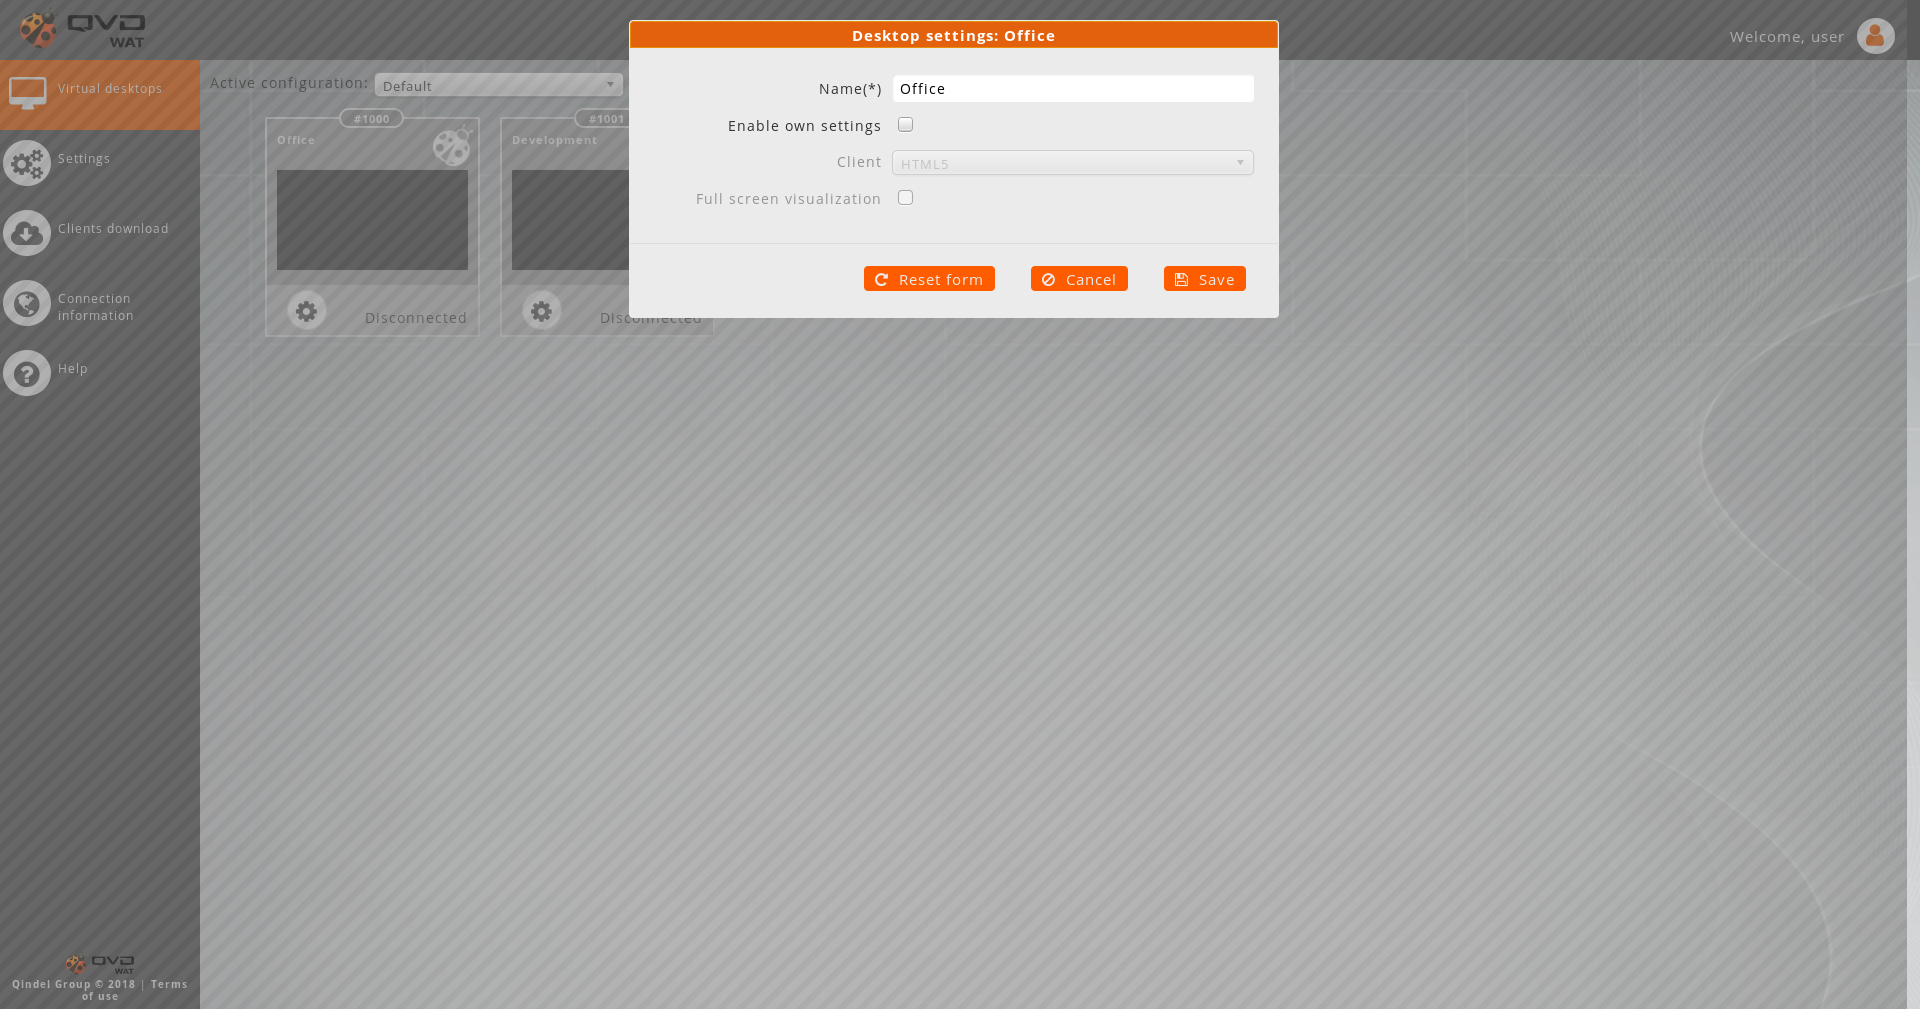
In this way it is understood wich configuration affect the desktop and is possible to overwrite it with own settings is possible.
If it is enabled, the options will be unblocked and it will can be edited, overwriting in this way the active configuration with specific own settings on this desktop.
-
Client: This option will determine what type of client will be used to establish the connection to the desktop.
-
HTML5: The client will be openened in a tab of the browser.
-
Classic client: The heavy client will be used.
-
Depending on the type of the client selected, specific options will shown.
Options for the Classic Client
-
Connection type: Según la calidad de la conexión podremos escoger un tipo de conexión de las disponibles en un combo de selección.
-
ADSL
-
Modem
-
Local
-
-
Enable audio: This option will enable the audio on the Virtual Desktop.
-
Enable printing: This option will enable the printing on the Virtual Desktop.
-
Full screen visualization: This option will enable full screen mode in the heavy client.
-
Share folders: When enable this option a text box will appear to specify the path (one per line) of the local folders that you want to share with the desktop.
-
Share USB: When enable this option a text box will appear to specify the IDs (one per line) of the USB devices that you want to share with the desktop.
Options for the HTML5 Client
-
Full screen visualization: This option will enable the browser full screen mode.
-
Keyboard layout: This option allows configure the country which keyboard layout is required. By default it is auto-detected using the browser language.

4.3. Settings
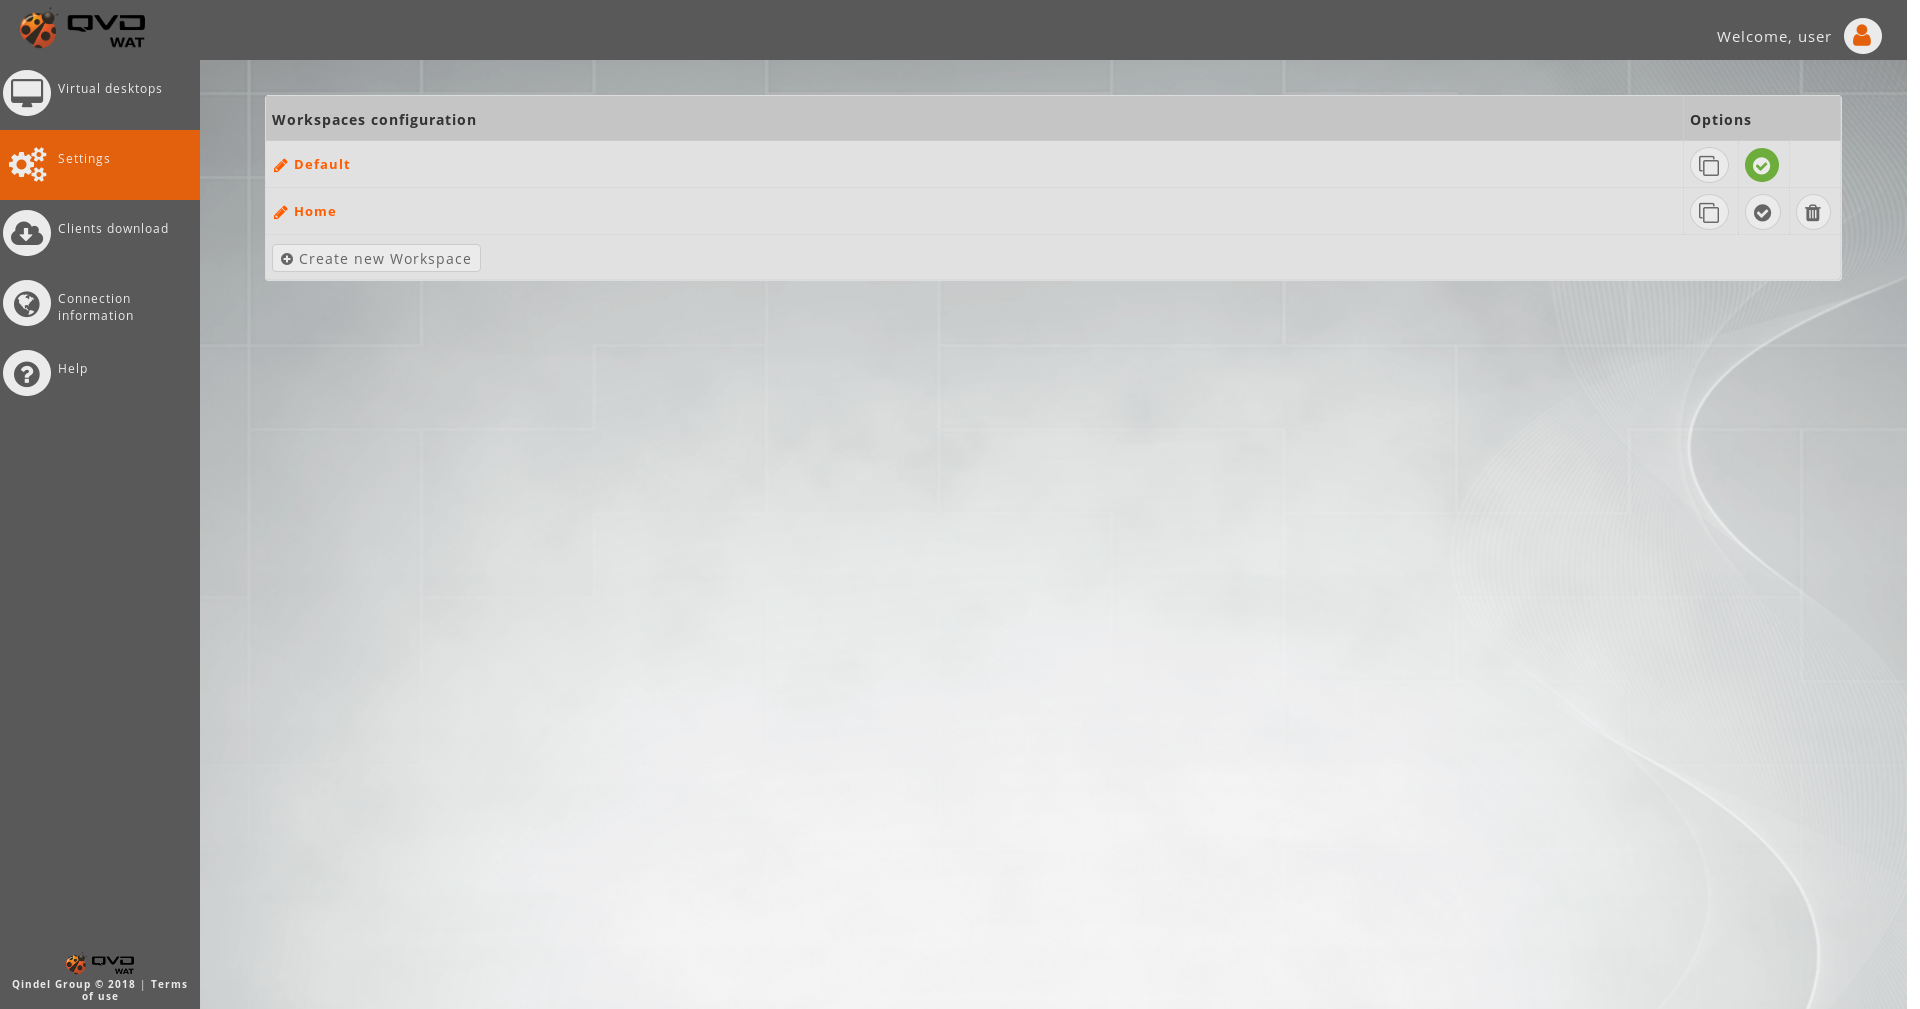
This section contains the Workspaces management.
There is a list of the Workspaces associated to the user wit the options of creation, clonation, deletion and activation.
By default there is a Workspace named Default that can be edited but it is not possible to be deleted.
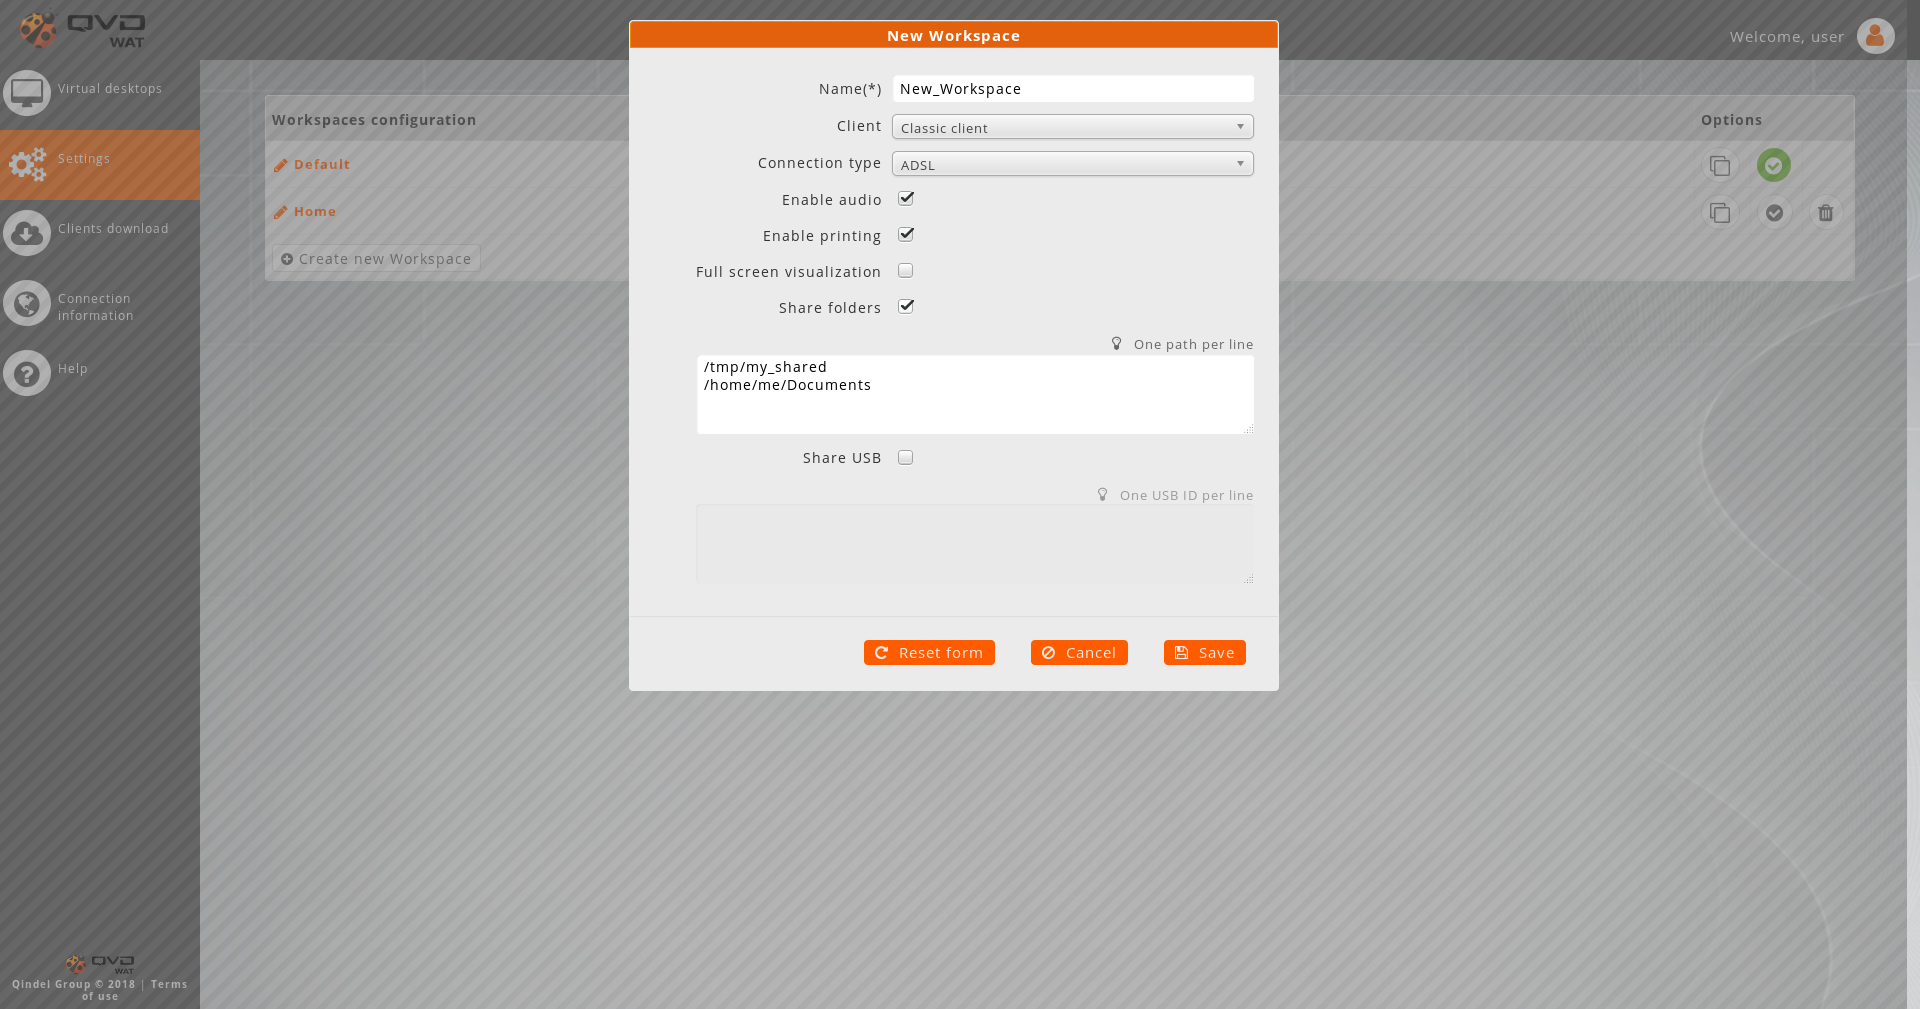
4.3.1. Create new Workspace
On the bottom of the list there is a button to create a Workspace from the scratch.
When creating a Workspace a modal window will emerge with the following fields:
-
Name: Nombre del Workspace
-
Client: This option will determine what type of client will be used to establish the connection to the desktop.
-
HTML5: The client will be openened in a tab of the browser.
-
Classic client: The heavy client will be used.
-
Depending on the type of the client selected, specific options will shown.
Options for the Classic Client
-
Connection type: Según la calidad de la conexión podremos escoger un tipo de conexión de las disponibles en un combo de selección.
-
ADSL
-
Modem
-
Local
-
-
Enable audio: This option will enable the audio on the Virtual Desktop.
-
Enable printing: This option will enable the printing on the Virtual Desktop.
-
Full screen visualization: This option will enable full screen mode in the heavy client.
-
Share folders: When enable this option a text box will appear to specify the path (one per line) of the local folders that you want to share with the desktop.
-
Share USB: When enable this option a text box will appear to specify the IDs (one per line) of the USB devices that you want to share with the desktop.
Options for the HTML5 Client
-
Full screen visualization: This option will enable the browser full screen mode.
-
Keyboard layout: This option allows configure the country which keyboard layout is required. By default it is auto-detected using the browser language.

4.3.2. Clone existing Workspace
This option is used to create a Workspace based on another.

As with the new Workspace button, a modal window will emerge containing the form with the Workspace attributes. In this case, the fields will be filled by default with the origin Workspace configuration.

4.3.3. Set Workspace as active
With this option a Workspace is setted as the configuration active of the User Portal.

This configuration will be used in the Virtual Desktops connection unless for the Desktops with own configuration enabled.
-
Only one Workspace can be setted as active configuration.
4.3.4. Delete Workspace
With this option a Workspace will be deleted permanently.

-
If the active Workspace is selected, the Workspace Default will be the active on.
-
The Workspace Default doesn’t have this option due to be a Workspace provided by the application by default.
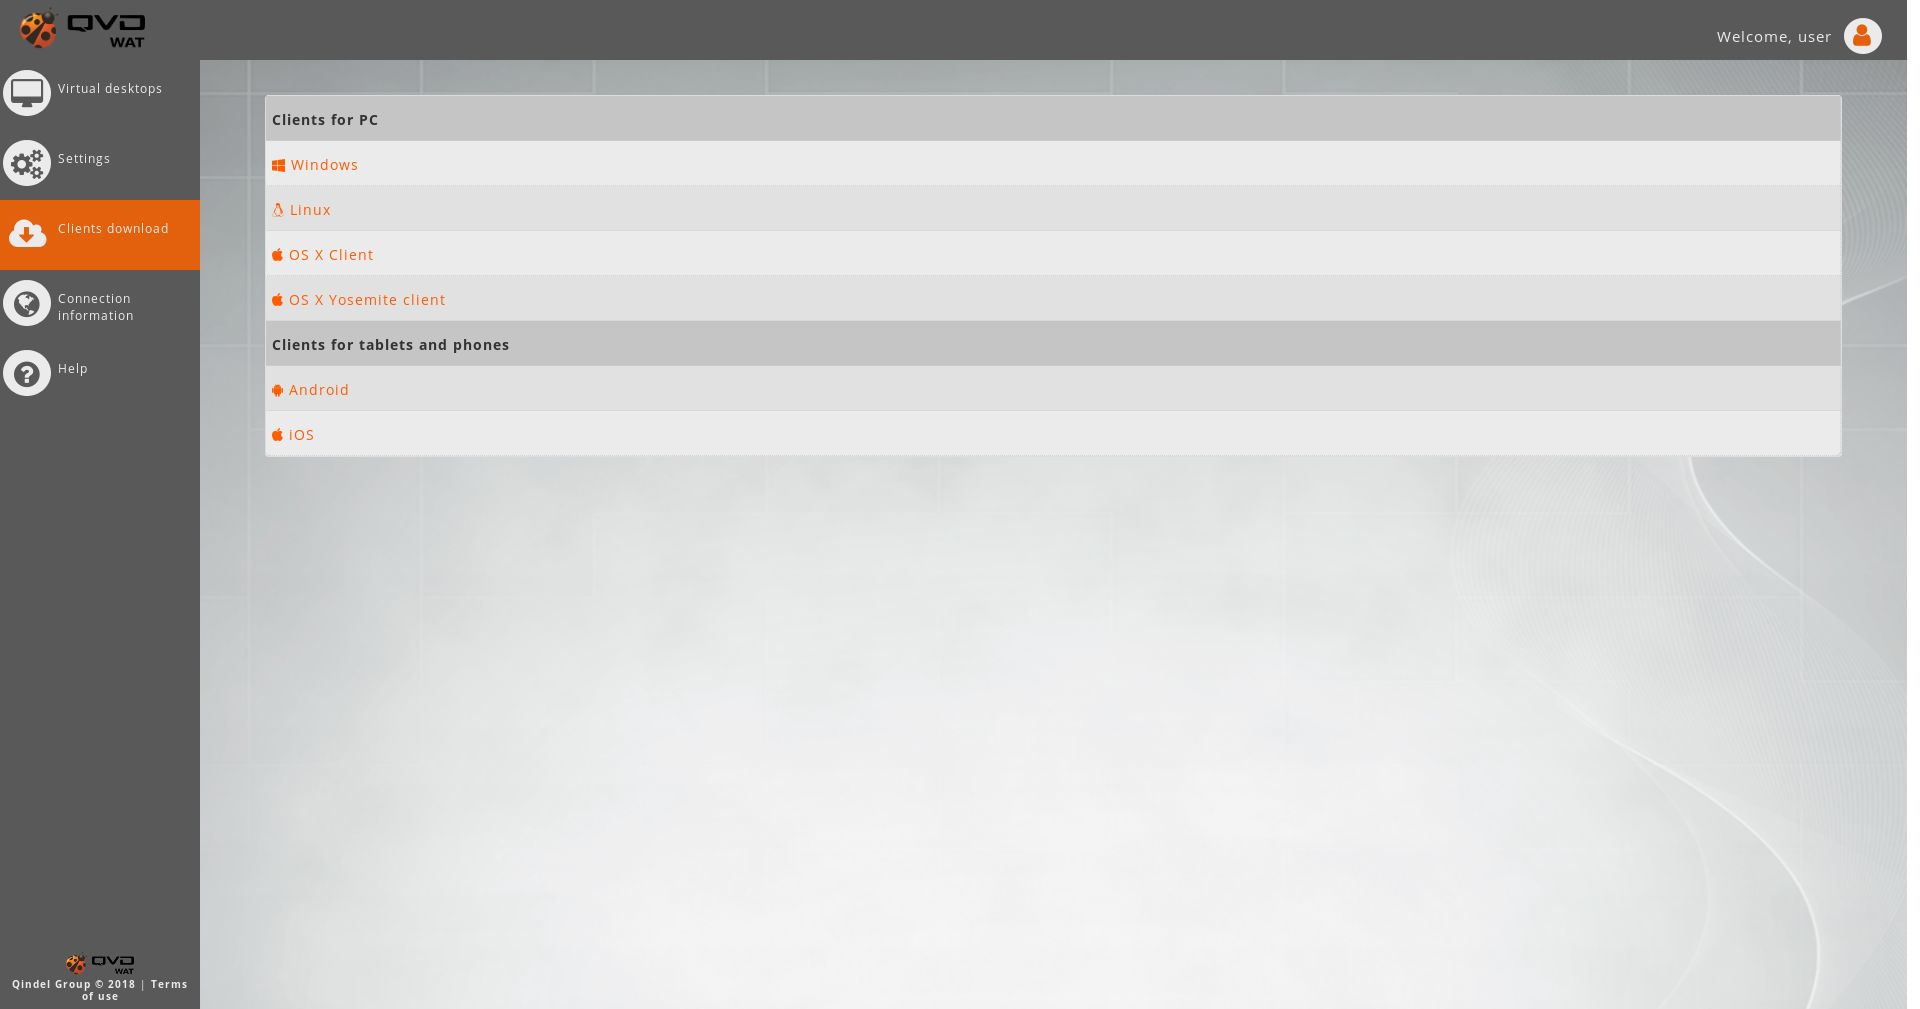
4.4. Clients download
This section contains a list of links to the different QVD clients available on the web.
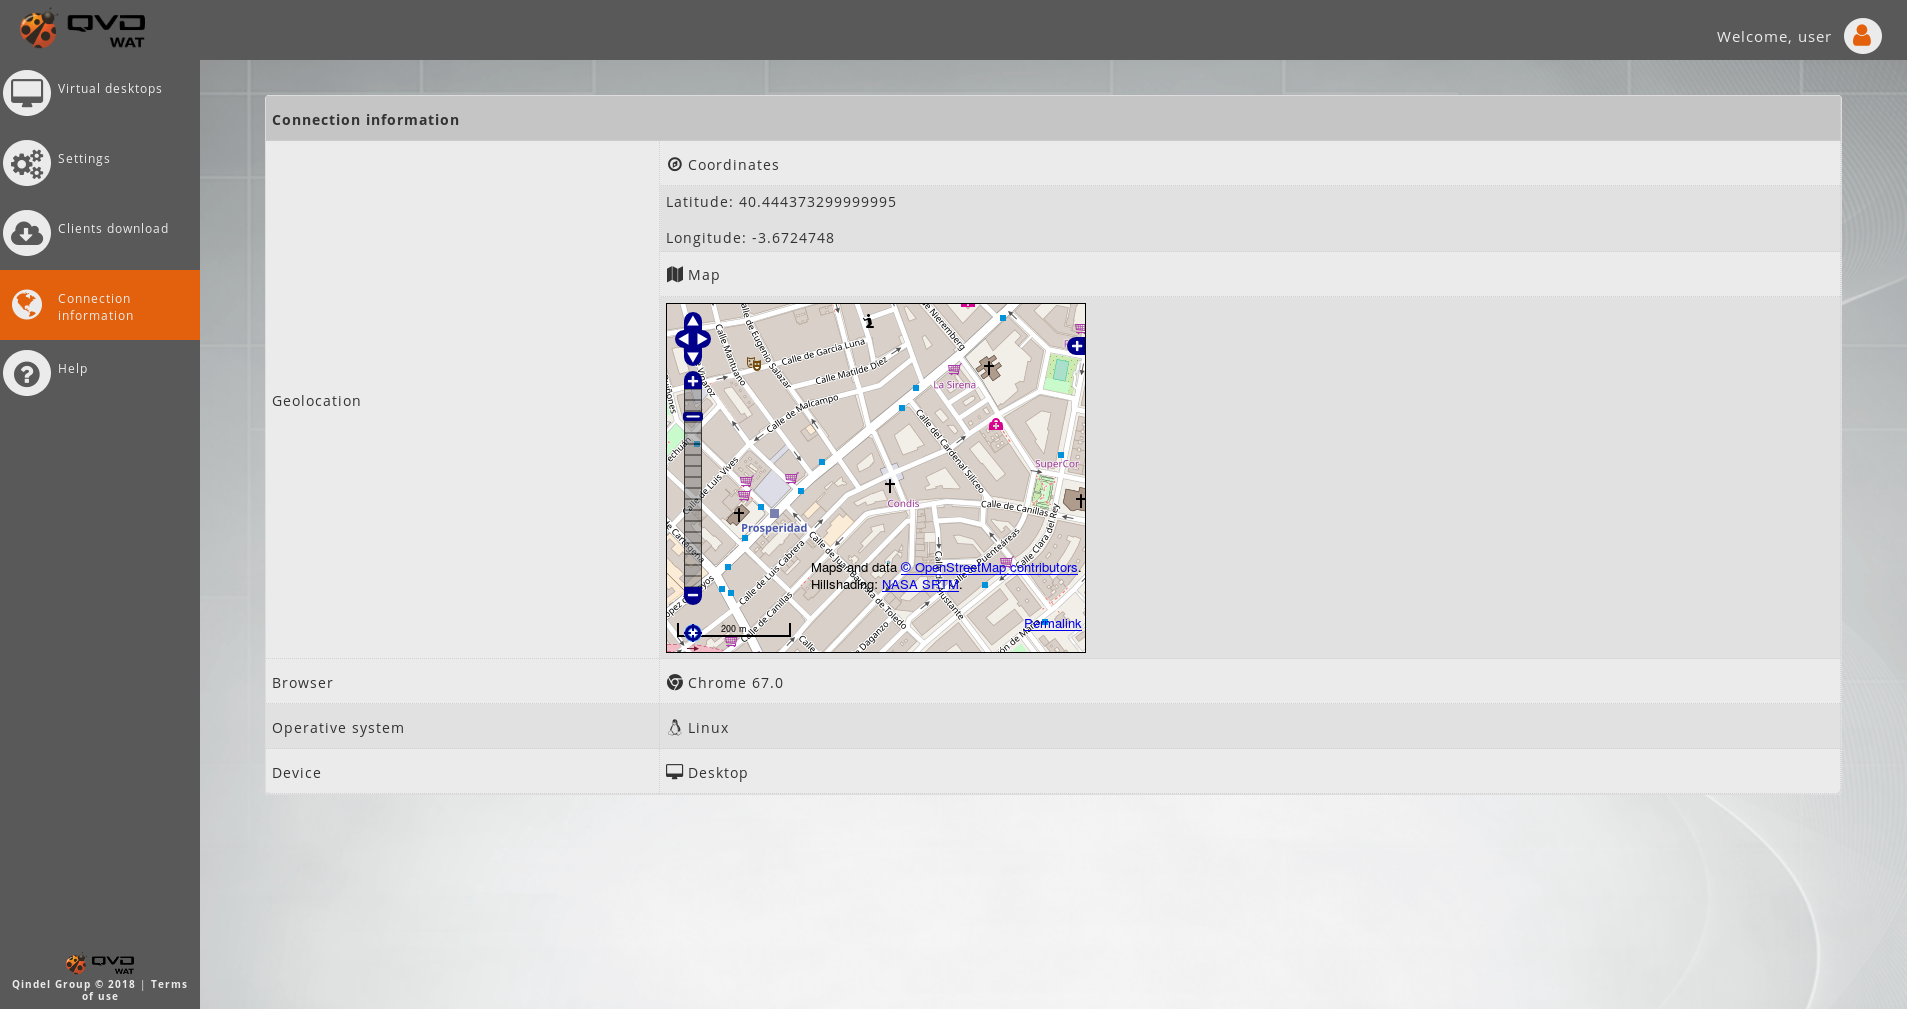
4.5. Connection information
This section contains the data of the last connection of the user to a virtual desktop.
-
Geolocation
-
Coordinates
-
Latitude
-
Longitude
-
-
Map (Open Street Map)
-
-
Browser
-
Chrome X.Y
-
Firefox X.Y
-
Edge X.Y
-
etc
-
-
Operating system
-
Linux
-
Windows
-
OS X
-
Android
-
iOS
-
etc
-
-
Device
-
Desktop
-
Mobile
-
etc
-
4.6. Help
This section contains the access to the different manuals of the application.
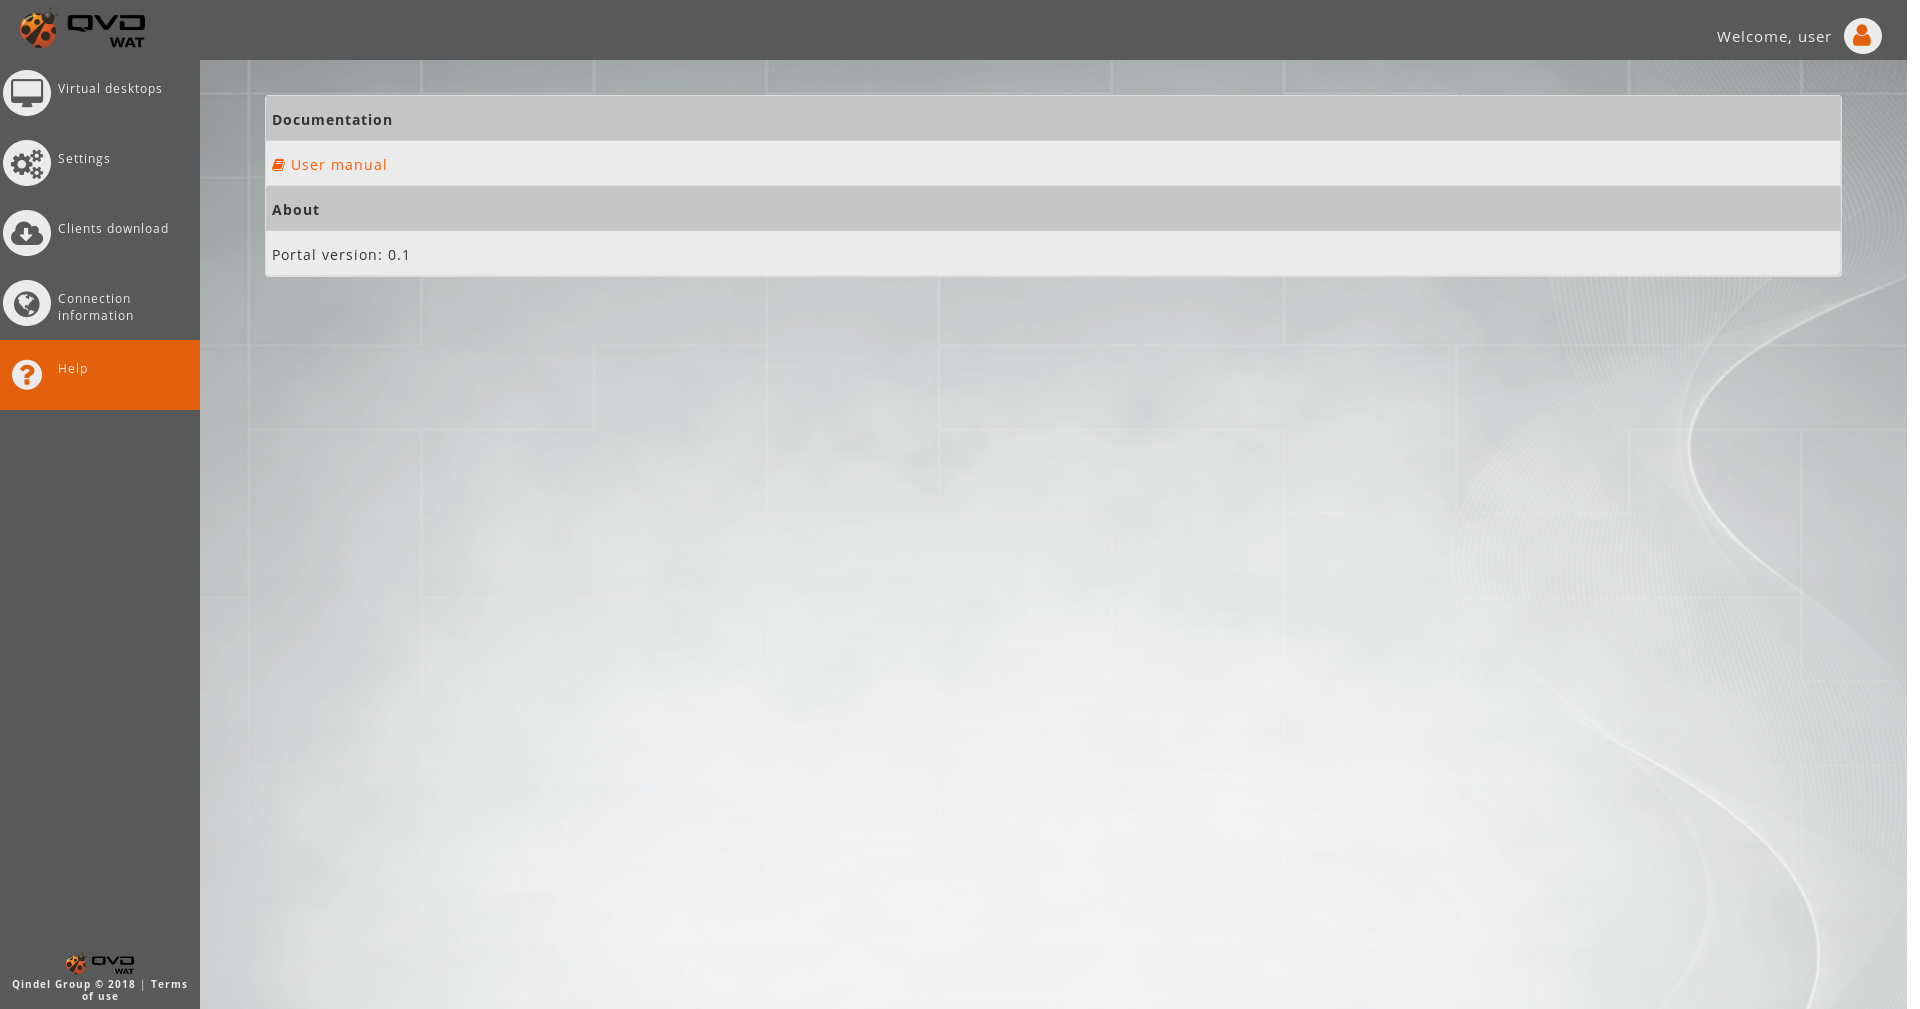
In addition it contains the version and license information.
The user guide is available within the portal