QVD provides a demonstration VirtualBox device in form of an OVF image that you can download and execute with a minimum of effort inside the VirtualBox software, available free of charge. If you do not have VirtualBox installed, you can download it from the web site https://www.virtualbox.org/wiki/Downloads or follow the instructions there to obtain it for your particular operating system. Since you are executing the demonstration in a virtualized environment, this means that you will be able to try the software on a wide range of different environments without having to make significant changes to your own configuration.
The VM image can be found here (Appliances section):
Once downloaded, start the VirtualBox software and select "Import virtualized service" in the menu File. Choose the QVD demonstration that you have downloaded and click on Next. This will take you to the of Device Import Configuration screen.
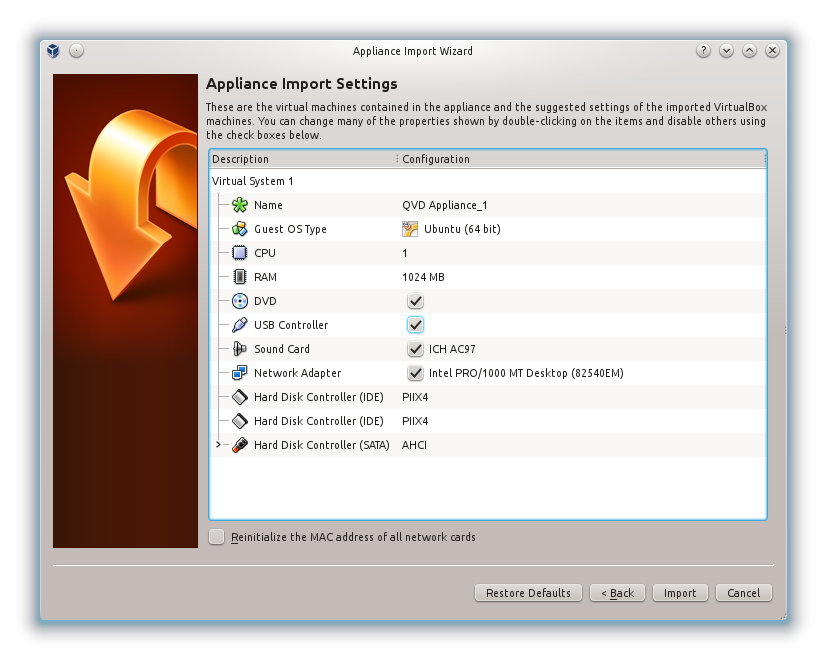
We do not recommend you change anything in this screen, so click on the Import button and give VirtualBox a couple of minutes to complete the importing process. Back to the main VirtualBox screen, the new machine "QVD Appliance" should now appear.
|
|
By default, the version of QVD of the appliance uses the ports 8443 for the layer 7 router, the port 7443 for the Web administration tool and the port 6443 for the user portal. Moreover, the port 2222 is used for the access ssh. Providing access to these ports in a guest operative system in VirtualBox can be done with NAT and establish the networking motor VirtualBox to assign these ports to the guest. This is already configured in the QVD Appliance. It is important to take into account that these ports must not be used yet in the local machine or this will not work correctly. |
To start the QVD device, simply choose it from the virtual machine list in VirtualBox and click on the button Start. This will start the machine and will take you to a screen of log in of the console. The user’s name and the password by default are qvd, although you should not need to log in yet to try the software. You can connect to port 8443 of your localhost with the QVD Client to check the software from the user’s point of view. You can also connect to ports 7443 and 6443 of your localhost with a standard web browser to see the web administration interface WAT and User Portal respectively.
Here is the appliance data for you to experiment with freedom:
SYSTEM |
USER |
PASSWORD |
Console |
qvd |
qvd |
Console |
root |
root |
Web Administration Tool (https://localhost:7443) |
superadmin@* |
superadmin |
User Portal (https://localhost:6443) |
qvd-demo |
If you wish, you can use the QVD client to connect to the pre-configured virtual machine with the following data:
HOST |
USER |
PASSWORD |
localhost |
qvd-demo |
|
|
By default there is no root access to virtual desktops. If you need to do this, you can change the password from the vm filesystem that is mounted on the QVD appliance filesystem: |
Login as root to the QVD Appliance’s console and run the following commands:
$ chroot /var/lib/qvd/storage/rootfs/10000-fs
$ passwd
Enter new UNIX password: root
Retype new UNIX password: root
passwd: password updated successfully
$ exit
$ cd /
Now you can make use of the user root with password root inside the demostration VM.
|
|
This demo is not supported and it no way provides a production ready solution. To completely understand how the components of QVD work, we highly recommend you to read Complete Installation Guides, but if you simply wish to see the software working, you should be able to get through the demo in the Installing and Configuring QVD Client. |